
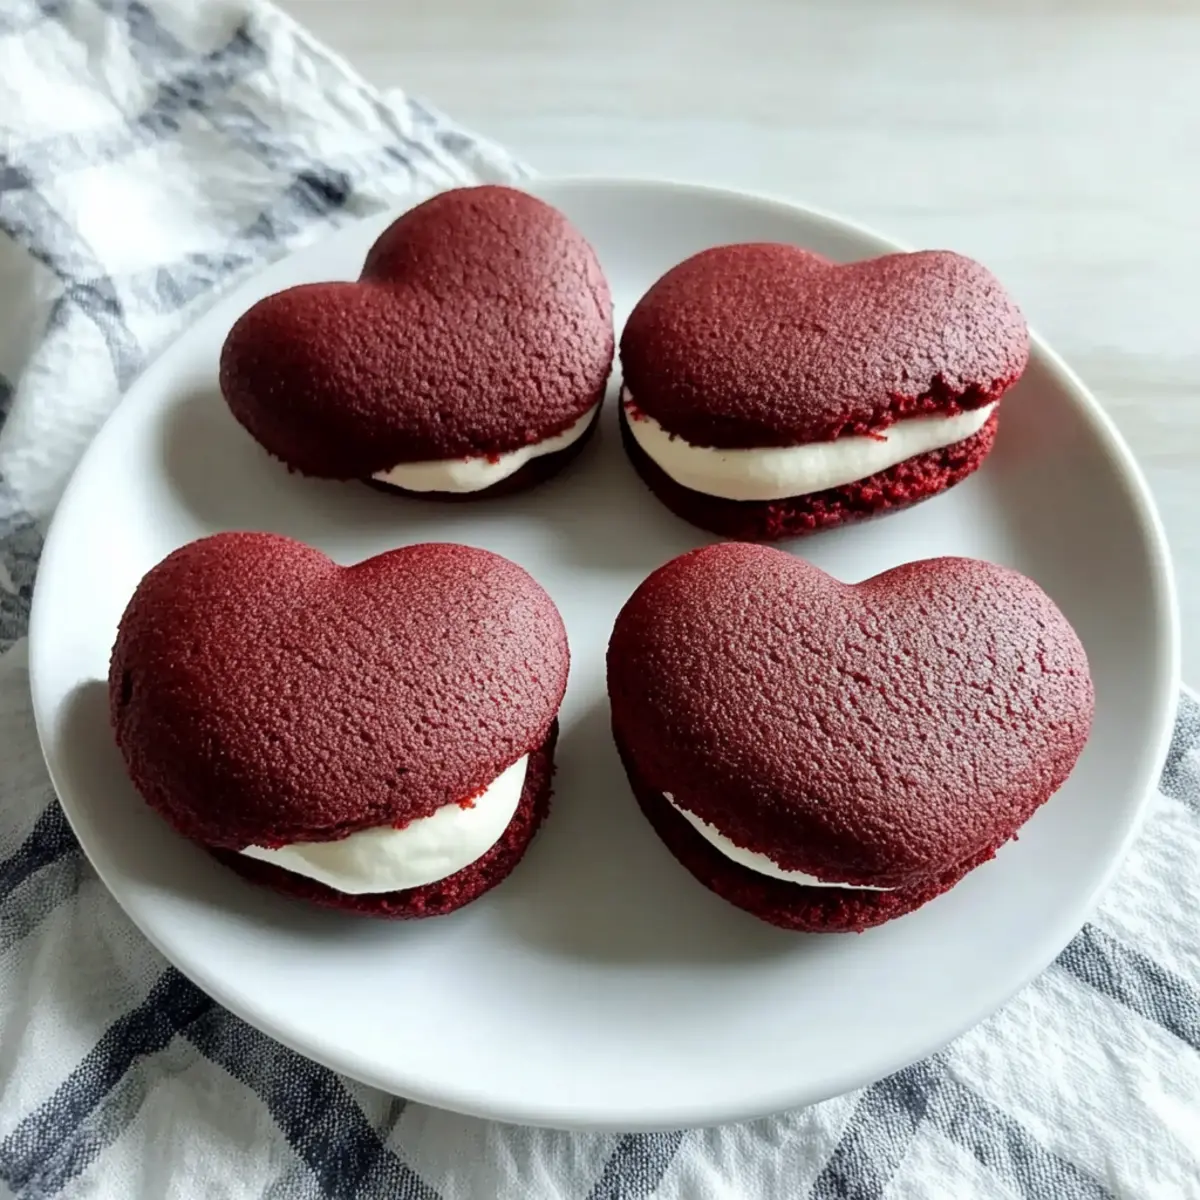
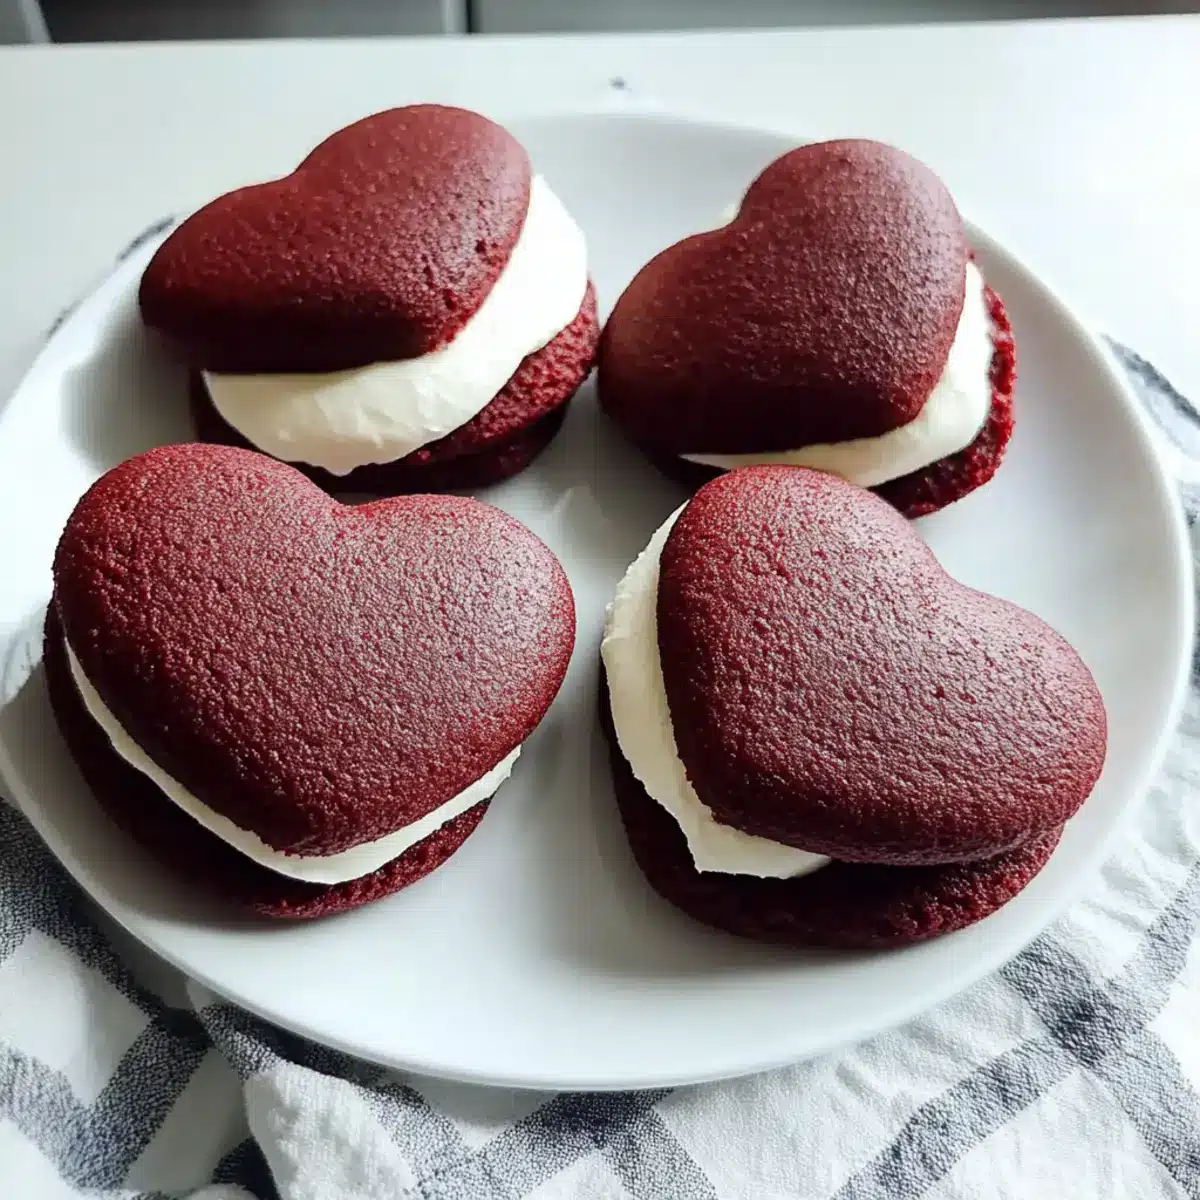
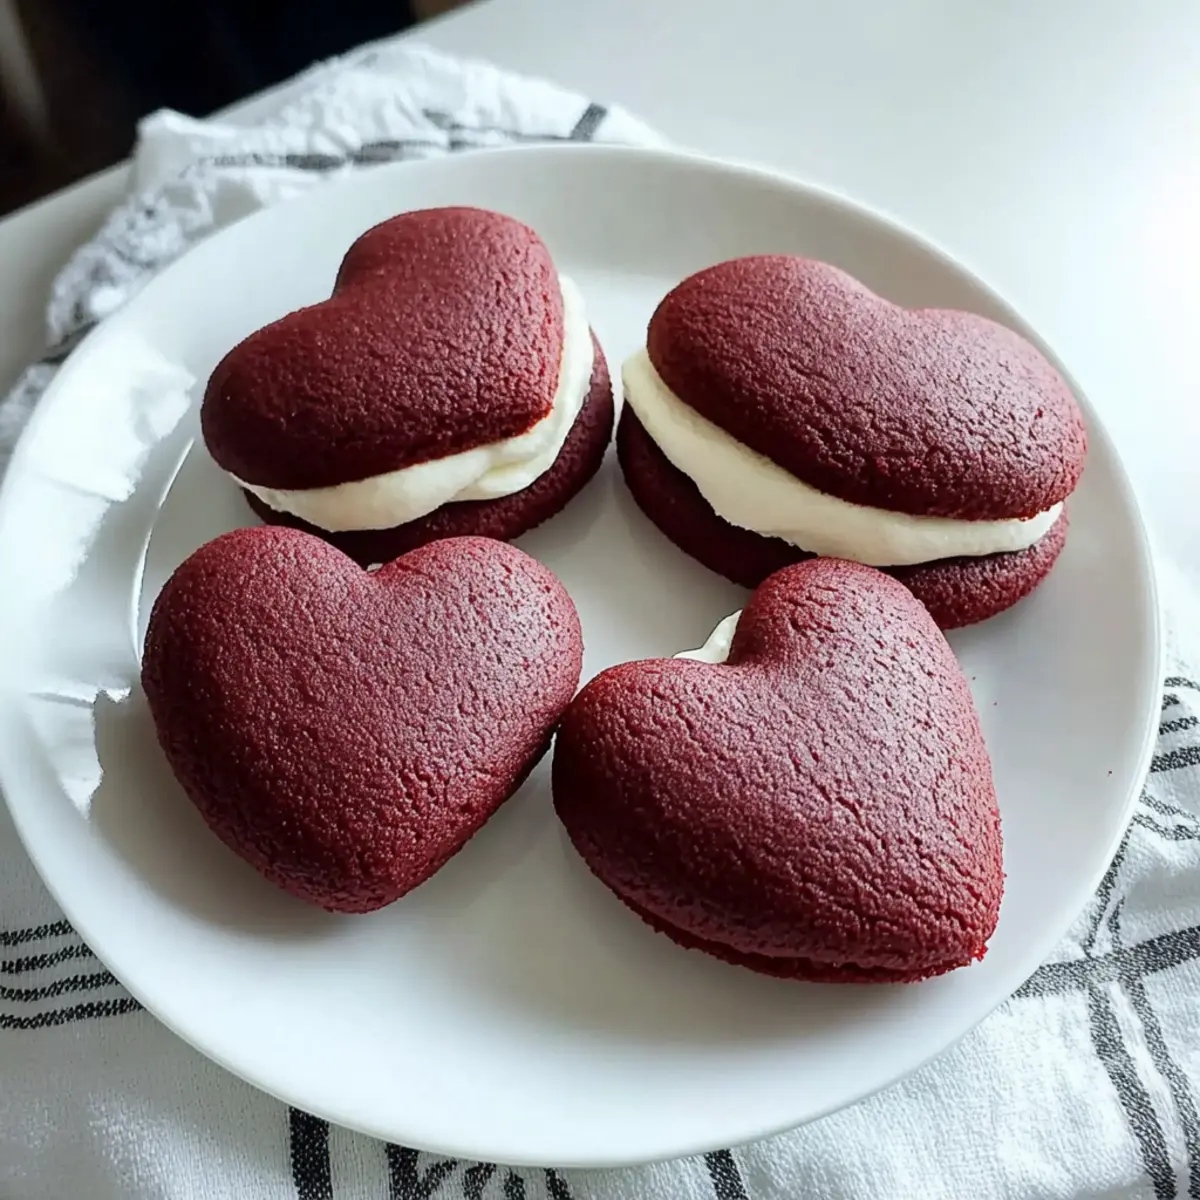
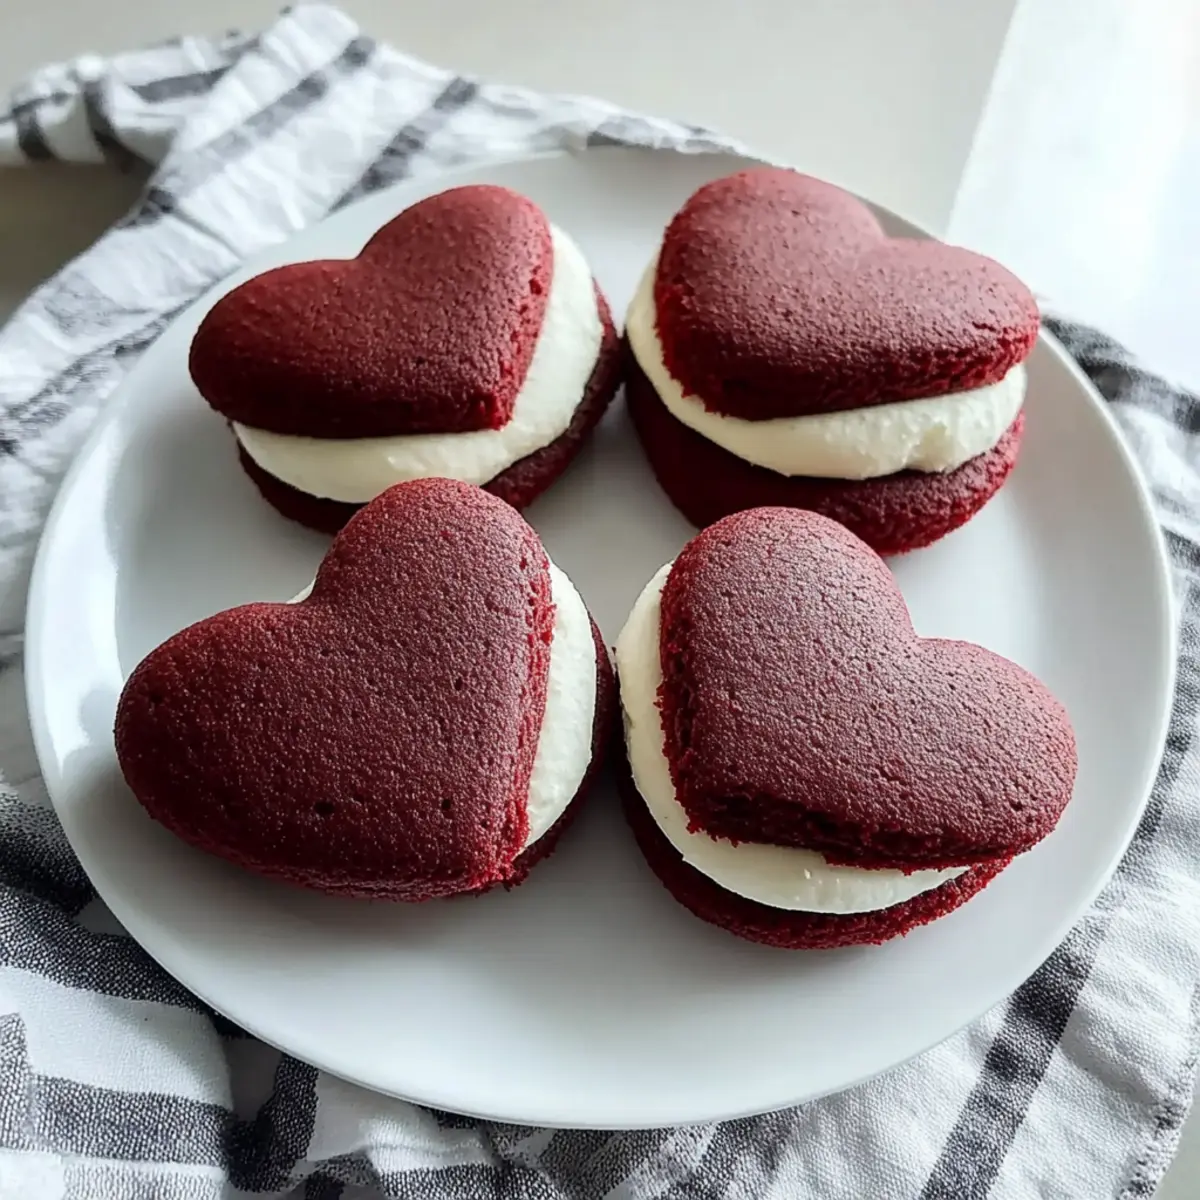
“Can you feel the love in the air? These heart-shaped red velvet whoopie pies are more than just a treat – they’re a sweet expression of affection, perfect for sharing on Valentine’s Day or any special occasion. With their soft texture, creamy filling, and playful heart shape, these delightful pies are a crowd-pleaser that can be made a day ahead, making your celebration effortlessly charming. Plus, their whimsical design makes them an exciting project for both seasoned bakers and kitchen newcomers alike. Ready to spread some love with these scrumptious Heart-Shaped Red Velvet Whoopie Pies? Let’s dive into this baking adventure together!”
Why Are Whoopie Pies So Irresistible?
Delightful Shape: The charming heart shape of these whoopie pies is perfect for making anyone feel extra special, especially on Valentine’s Day.
Soft and Chewy Texture: Each bite reveals a cake-like softness that complements the rich, creamy filling, making them a satisfying treat.
Easy to Make Ahead: These whoopie pies are simple to prepare in advance, reducing stress on your special day.
Versatile Flavors: Experiment with variations like almond extract for a unique twist. You might also enjoy serving them alongside fresh berries or chocolate-covered strawberries for a romantic pairing!
Crowd-Pleaser: Their whimsical design and delightful taste will surely impress guests at any gathering. Embrace your baking skills with this fun recipe!
Heart-Shaped Red Velvet Whoopie Pies Ingredients
• Gather everything you need to create these delightful, heart-shaped red velvet whoopie pies!
For the Cookie Batter
- Natural Unsweetened Cocoa Powder – Provides the rich chocolate flavor and deep color that makes these whoopie pies so appealing.
- All-Purpose Flour – Supplies structure to the whoopie pies; essential for their delightful texture.
- Baking Powder and Baking Soda – These leavening agents ensure a fluffy and light cookie.
- Salt – Enhances the overall flavor, balancing the sweetness.
- Unsalted Butter – Adds richness and texture to the cookies; be sure it’s at room temperature for best results.
- White Sugar and Brown Sugar – A combination that contributes to both flavor and moisture in the batter.
- Egg – Binds all the ingredients together while adding moisture for a tender cookie.
- Vanilla Extract – Enhances the overall flavor profile, bringing out the sweetness of the cookies.
- Buttermilk – Adds a tender crumb and slight tang; you can substitute regular milk mixed with a little lemon juice if needed.
- Red Food Coloring – Achieves that signature red hue; use it sparingly to avoid excess liquid in the batter.
For the Cream Cheese Filling
- Cream Cheese – The star of the filling, providing delicious creaminess that pairs perfectly with the cookie.
- Powdered Sugar – Sweetens and thickens the cream cheese filling for that dreamy texture you’ll love.
Ready to indulge in these heart-shaped red velvet whoopie pies? You will not just enjoy their flavor but also their charming presentation!
Step‑by‑Step Instructions for Heart-Shaped Red Velvet Whoopie Pies
Step 1: Prepare Stencil
Begin by creating a heart stencil to ensure your whoopie pies have the perfect shape. Use a piece of cardstock to trace heart shapes, ideally about 3 inches wide, and cut them out. Place the stencil onto parchment paper and trace around it for as many hearts as your baking sheet can fit—aim for a neat and organized layout.
Step 2: Mix Dry Ingredients
In a mixing bowl, whisk together the all-purpose flour, cocoa powder, baking powder, baking soda, and salt until well combined. This dry mixture will provide the structure your heart-shaped red velvet whoopie pies need, so ensure there are no lumps. Set this bowl aside while you work on the wet ingredients.
Step 3: Cream Mixture
In a large bowl, use an electric mixer to beat the room-temperature unsalted butter with both white and brown sugars. Mix on medium speed for about 3–5 minutes until the mixture becomes light and fluffy. This step incorporates air, which is key to achieving that soft, cake-like texture in your whoopie pies.
Step 4: Add Egg and Vanilla
Once your butter-sugar mixture is fluffy, add in one egg and the vanilla extract, mixing at low speed until everything is well combined. It should look smooth and creamy, reminiscent of a thick batter. This addition helps bind the ingredients and enhances the flavor of your heart-shaped red velvet whoopie pies.
Step 5: Combine Dry and Wet
Gradually add the previously mixed dry ingredients to the wet mixture, alternating with the buttermilk. Begin with a third of the dry mixture, then add half of the buttermilk, mixing gently after each addition. Continue until everything is just combined, being careful not to overmix so the cookies remain light and airy.
Step 6: Color Batter
Now, it’s time to make your batter visually stunning! Add red food coloring a little at a time, stirring until you reach your desired shade of red. The batter should be vibrant and smooth, not overly runny. This step brings the heart-shaped red velvet whoopie pies to life, creating an inviting treat for any occasion.
Step 7: Pipe Batter
Transfer the red velvet batter into a piping bag fitted with a large round tip. Carefully pipe heart shapes on the prepared parchment paper, using the stenciled outlines for guidance. Aim for uniform shapes, about 1/2 inch apart to allow for rising during baking. This will help ensure they bake evenly and maintain their charming form.
Step 8: Bake
Preheat your oven to 350°F (180°C) and bake the piped heart shapes for approximately 10 minutes. Keep an eye on them—the cookies are done when they spring back lightly when touched and no longer look wet on the surface. Allow the aroma of freshly baked whoopie pies to fill your kitchen as they bake.
Step 9: Cool
Once baked, remove the cookies from the oven and let them cool on the baking sheet for about 5 minutes before carefully transferring them to a cooling rack. Allow them to cool completely. This cooling time is crucial, as it ensures they’ll hold their shape when you assemble the heart-shaped red velvet whoopie pies with the filling.
Step 10: Prepare Filling
For the creamy filling, beat together the softened cream cheese and remaining butter in a clean bowl until smooth and fluffy. Gradually mix in powdered sugar and a splash of vanilla extract, continuing to beat until the mixture becomes creamy and thick. This decadent filling will provide a delightful contrast to the soft cookies.
Step 11: Assemble
To bring your heart-shaped red velvet whoopie pies together, pipe a generous amount of the cream cheese filling onto the flat side of one cooled cookie. Gently press another cookie half on top to create a sandwich. Take care to not squish too hard; you want your filling to peek out slightly for that cartoonish charm of a classic whoopie pie.
Expert Tips for Heart-Shaped Red Velvet Whoopie Pies
-
Stir Gently: Avoid overmixing the batter after adding flour to keep your cookies light and airy, which is key for the best heart-shaped red velvet whoopie pies.
-
Room Temperature Ingredients: Make sure your cream cheese and butter are at room temperature for a smooth filling without lumps—this will enhance the overall texture.
-
Color Control: Start with a small amount of red food coloring, adding more gradually to achieve the desired hue without making the batter too liquidy.
-
Even Baking: Ensure your piped shapes are uniform in size and spaced evenly to promote even baking and maintain that charming heart shape.
-
Cooling Time: Allow cookies to cool completely before assembling to prevent the filling from melting and losing its delightful texture.
-
Storage Smart: Store your whoopie pies in an airtight container with parchment paper between layers to keep them fresh and delicious for up to 5 days.
What to Serve with Heart-Shaped Red Velvet Whoopie Pies
Indulging in these sweet treats opens up a world of delightful pairings to create a memorable meal experience.
- Fresh Berries: Juicy strawberries, raspberries, or blueberries add a refreshing contrast and enhance the vibrant colors of your dessert.
- Chocolate-Covered Strawberries: Elevate romantic vibes with these sweet treats that mirror the flavors in your whoopie pies perfectly.
- Whipped Cream: A dollop of fluffy whipped cream complements the creamy filling, adding a lightness that balances the sweetness.
- Coffee or Espresso: The rich, bold flavors of coffee create a delightful contrast, making every bite of your whoopie pie even more enjoyable.
- Hot Chocolate: For an extra cozy touch, serve with a steaming cup of hot chocolate topped with marshmallows, perfect for sharing on chilly evenings.
- Ice Cream: Vanilla or raspberry ice cream elevates the dessert experience, introducing a creamy and delightful texture contrast to the soft pies.
Enhancing your heart-shaped red velvet whoopie pies with these pairings creates a perfect harmony of flavors, textures, and warmth, turning any occasion into a celebration of sweetness!
Heart-Shaped Red Velvet Whoopie Pies Variations
Feel free to get creative with these delightful whoopie pies, making them uniquely yours!
-
Almond Flavor: Substitute almond extract for vanilla to add a nutty twist to your pies. This creates a wonderfully aromatic flavor that can elevate the overall experience.
-
Rainbow Bright: Use different colored food dyes to make a vibrant assortment for parties or celebrations. Imagine a table filled with heart-shaped pies in a spectrum of colors—the perfect cheerful touch!
-
Flavored Cream Cheese: Opt for flavored cream cheese, such as chocolate or raspberry, for a fun filling. This twist will surprise your taste buds and make your whoopie pies even more exciting!
-
Gluten-Free: Swap all-purpose flour for a gluten-free flour blend to cater to those with dietary restrictions. Everyone can enjoy the love of these sweet pies!
-
Spicy Kick: Add a hint of cayenne pepper or cinnamon to the cream cheese filling for a surprising kick. Just a pinch is enough to transform each bite into a flavor adventure.
-
Mini-Pies: Create mini whoopie pies by piping smaller shapes. Perfect for parties, these adorable treats allow for more sharing and tasting without the guilt!
-
Nutty Addition: Fold in chopped nuts or chocolate chips into the batter for a delightful texture. The added crunch complements the soft, cake-like consistency beautifully.
-
Boozy Treat: For the adults, mix a splash of your favorite liqueur into the cream cheese filling. A bit of amaretto or Baileys can add a grown-up twist to your dessert!
With all these variations, the playful potential for these heart-shaped red velvet whoopie pies seems endless! Whether you’re excited about experimenting or just want to stick to the classic, there’s a delicious option for everyone. If you’re in the mood for a different flavor inspiration, consider trying Red Velvet Valentines or dive into a warm bowl of Thai Red Curry for a tempting change of pace. Enjoy the love-filled baking!
Storage Tips for Heart-Shaped Red Velvet Whoopie Pies
Room Temperature: These whoopie pies can be kept at room temperature for up to 1 day, but should be stored in an airtight container to maintain freshness.
Fridge: Store your heart-shaped red velvet whoopie pies in the fridge for up to 5 days; use parchment paper between layers to prevent sticking and maintain their delightful texture.
Freezer: For longer storage, freeze the whoopie pies individually, wrapped in plastic wrap, for up to 2 months. Thaw them overnight in the fridge before serving for the best flavor.
Reheating: If you’d like to enjoy them warmed, place the whoopie pies in the microwave for a few seconds; this will soften the cookies and enhance the creaminess of the filling.
Make Ahead Options
These Heart-Shaped Red Velvet Whoopie Pies are perfect for meal prep enthusiasts looking to save time! You can prepare the cookie batter up to 24 hours in advance by making it and refrigerating it in an airtight container; this ensures the flavors meld together beautifully. You can also bake the cookies and store them in an airtight container at room temperature for up to 3 days or in the fridge. For the cream cheese filling, mix and store it separately in the fridge for freshness. When you’re ready to assemble, simply bring everything to room temperature, pipe the filling between the cooled cookies, and you’ll have an irresistible treat with minimal effort! Enjoy the sweet rewards of being wonderfully organized!
Heart-Shaped Red Velvet Whoopie Pies Recipe FAQs
How do I choose ripe ingredients for this recipe?
Absolutely! When selecting your ingredients, especially for the cream cheese filling, choose fresh cream cheese that doesn’t have any off smell. For butter, ensure it’s soft but not melted; this helps achieve a fluffy consistency when creaming with sugar. You can also use red food coloring that has not expired for the best color outcome!
How should I store leftovers of the whoopie pies?
Very! To keep your heart-shaped red velvet whoopie pies fresh, store them in an airtight container in the refrigerator for up to 5 days. Make sure to place parchment paper between layers to prevent them from sticking together and maintain their tender texture.
Can I freeze these whoopie pies? What’s the best method?
Definitely! To freeze your heart-shaped red velvet whoopie pies, wrap each one individually in plastic wrap and place them in a freezer-safe container. They can be stored for up to 2 months. When you’re ready to enjoy them, simply thaw them overnight in the fridge for the best flavor and texture!
What should I do if my batter is too runny?
Oh no, that can happen! If your batter seems too runny, it’s likely from too much liquid or food coloring. To fix it, gradually add a little more flour, about 1 tablespoon at a time, mixing gently until you reach a silky but not too wet consistency. This will help ensure your heart-shaped red velvet whoopie pies hold their form while baking.
Can I make these whoopie pies gluten-free?
Absolutely! If you’re looking for a gluten-free option, you can substitute the all-purpose flour with a 1:1 gluten-free flour blend. Just keep an eye on the baking time and texture, as gluten-free flours can vary, and you might need to adjust the moisture slightly to find the perfect balance!
Are there any allergy considerations I should know?
Indeed! This recipe contains gluten, dairy, and eggs, which are common allergens. If you’re baking for someone with dietary restrictions, consider using gluten-free flour and dairy-free butters and cream cheese alternatives. Always double-check ingredient labels and any substitutions to ensure they’re safe for anyone with allergies.
Heart-Shaped Red Velvet Whoopie Pies that Steal Hearts
Ingredients
Equipment
Method
- Prepare a heart stencil from cardstock and trace heart shapes onto parchment paper.
- In a mixing bowl, whisk together the all-purpose flour, cocoa powder, baking powder, baking soda, and salt.
- Beat the unsalted butter with white and brown sugars until light and fluffy.
- Add the egg and vanilla extract to the butter-sugar mixture and mix until smooth.
- Gradually add the dry ingredients to the wet mixture, alternating with the buttermilk.
- Add red food coloring gradually until desired shade is achieved.
- Pipe heart shapes using the red velvet batter on the prepared parchment paper.
- Bake at 350°F (180°C) for approximately 10 minutes.
- Cool the cookies on a baking sheet for 5 minutes before transferring to a cooling rack.
- Beat the cream cheese and remaining butter until smooth, then mix in powdered sugar.
- Pipe cream cheese filling onto the flat side of a cooled cookie and sandwich with another cookie.
Leave a Reply