
The first time I bit into a slice of pie with a gluten-free crust, I was stunned—could this flaky gluten-free pie crust recipe actually match the buttery perfection I had grown up loving? To my surprise, it delivered! This versatile crust is not only easy to roll without cracking but also perfect for both sweet and savory delights. Whether it cradles a luscious fruit filling or a rich creamy concoction, it’s bound to impress even the staunchest gluten aficionados. Plus, it’s great for meal prep—make extra and stash it in the freezer for those spontaneous baking sessions. Curious about how to whip up this delightful crust that transforms every pie into a celebration? Let’s dive in!
Why Choose This Gluten-Free Pie Crust?
Unmatched Flakiness: This gluten-free pie crust delivers a buttery, flaky texture that rivals traditional versions, making it perfect for any pie enthusiast.
Versatile Delight: Whether you’re crafting a sweet berry pie or a savory quiche, this crust rises to the occasion effortlessly.
Time-Saver: Prep and chill the dough quickly—great for impromptu dessert cravings or meal prep!
Easy to Roll: Experience the joy of working with a dough that rolls out smoothly without cracking, ensuring a flawless finish every time.
Perfect for Everyone: Impress gluten-free friends and family while satisfying all palates. Serve with your favorite filling or try it as a base for rich dishes like Peruvian Chicken and Rice!
Endless Variations: Customize with different flour blends or crust styles, sparking creativity and making baking a breeze.
Gluten-Free Pie Crust Ingredients
For the Dough
• Gluten-Free Flour Blend – Choose a blend that includes starch for optimal flakiness; homemade mixes work too!
• Salt – Balances flavors and enhances sweetness; ensure it’s gluten-free if from a pre-packaged blend.
• Unsalted Butter – Provides that rich, flaky texture; can substitute with vegan butter for a dairy-free option.
• Large Egg – Essential for structure and richness; substitute with 3 tablespoons of whipped aquafaba for an egg-free version.
• Lemon Juice – Brightens flavor and helps with dough elasticity; vinegar can work as a substitute if necessary.
• Water – Binds the dough together; adjust based on the flour blend’s moisture absorption (add more if too dry).
Optional Toppings
• Egg Wash – Brush on the crust before baking for a beautiful golden finish; simply whisk another egg for this purpose.
Step‑by‑Step Instructions for Gluten-Free Pie Crust Recipe
Step 1: Prepare the Dough
In a large mixing bowl, combine your gluten-free flour blend and salt, whisking together until evenly distributed. This will serve as the base for your crust, ensuring all flavors meld beautifully. Once mixed, create a little well in the center for later additions.
Step 2: Integrate the Butter
Cut chilled unsalted butter into the flour mixture using a pastry blender or grater, mixing until the texture resembles coarse crumbs, with tiny butter pieces about the size of peas. This step is crucial for achieving that luxurious, flaky texture in your gluten-free pie crust.
Step 3: Combine Wet Ingredients
In a separate bowl, whisk together one large egg, lemon juice, and 2 to 4 tablespoons of cold water until smooth. Gradually pour this mixture into your flour and butter blend, stirring gently until a firm dough forms. Be careful not to overmix, as this can toughen your gluten-free crust.
Step 4: Chill the Dough
Wrap your dough in plastic wrap and refrigerate it for about 15 minutes. Chilling is essential, as it firms up the butter, making it easier to roll out while also establishing that flaky structure you desire in a perfect gluten-free pie crust.
Step 5: Roll Out the Dough
On a lightly floured surface, roll out the chilled dough to about ¼ inch thick. Use your rolling pin to evenly spread the dough, adding more flour as necessary to prevent sticking. Aim for a smooth surface with a delicate finish, so it rolls up beautifully into your pie pan.
Step 6: Transfer to the Pan
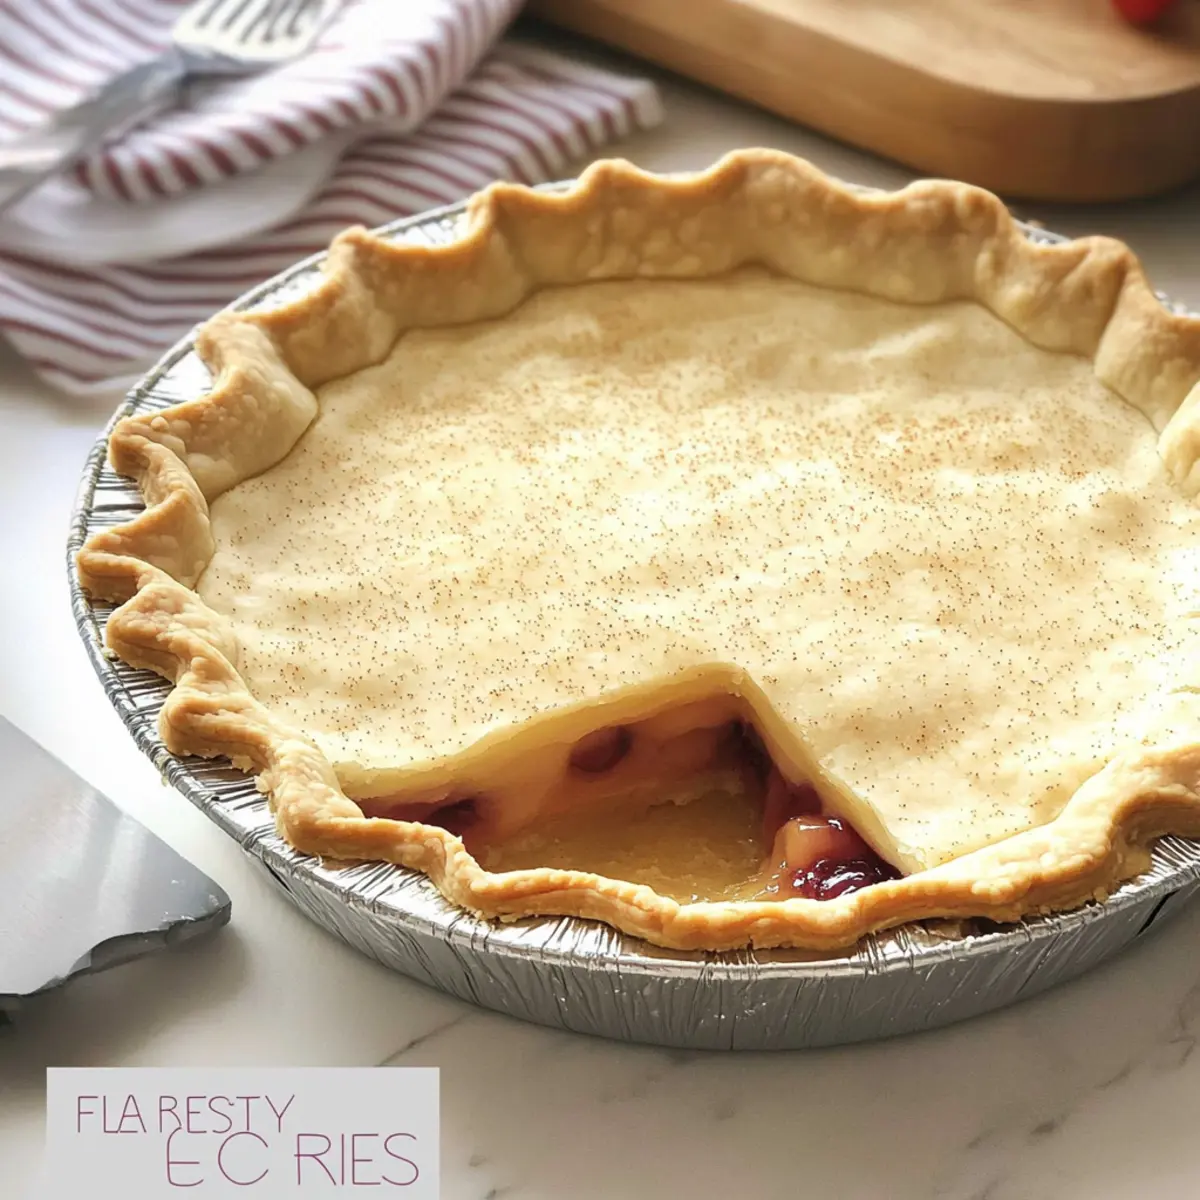
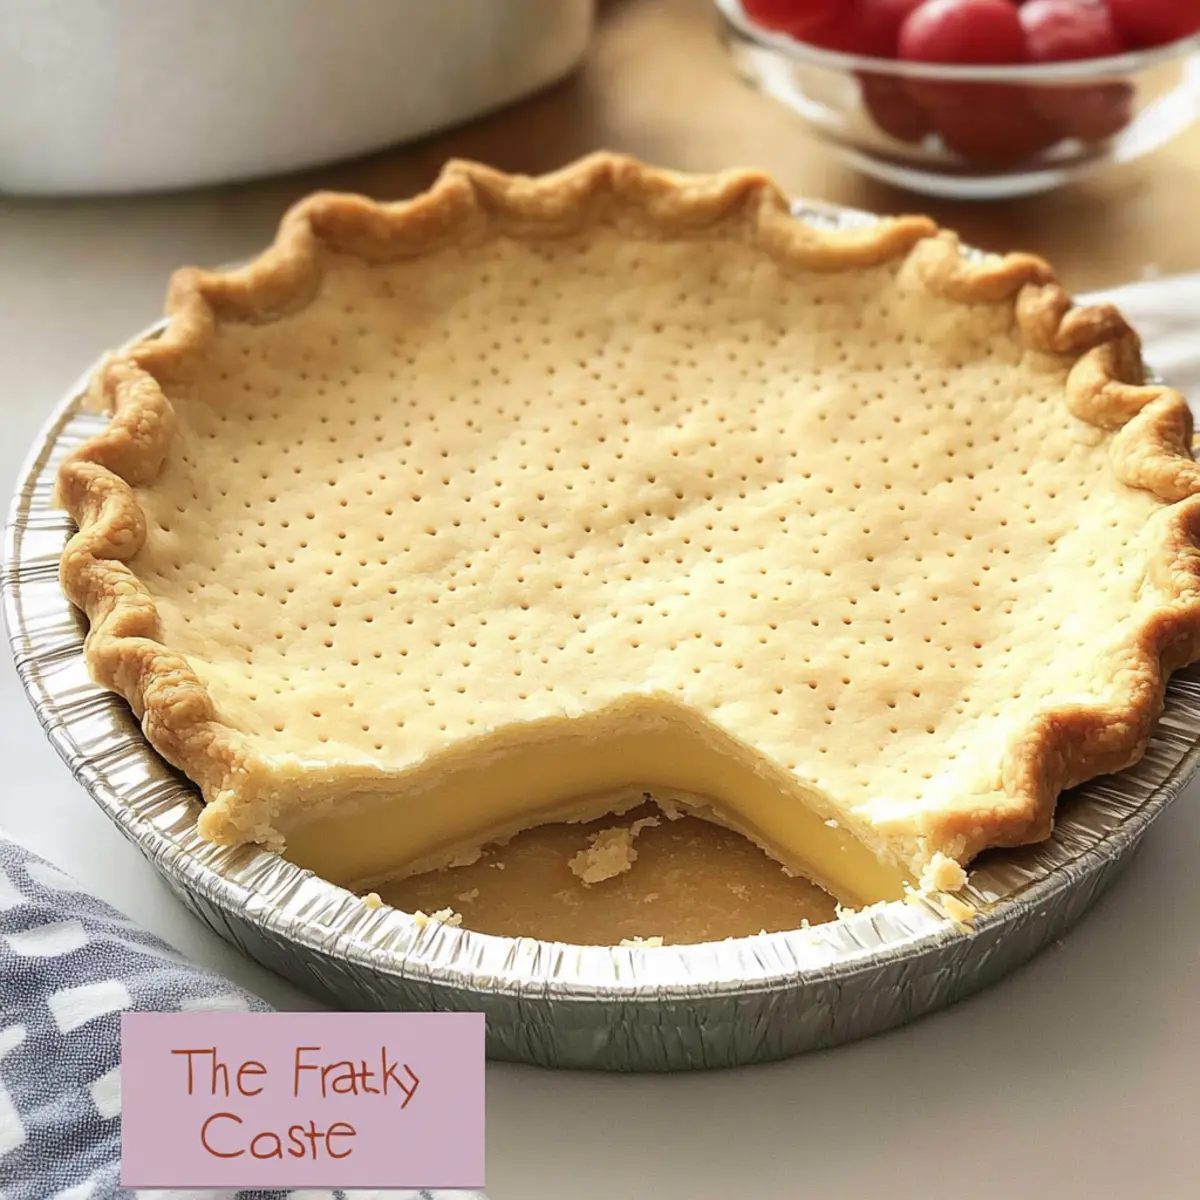
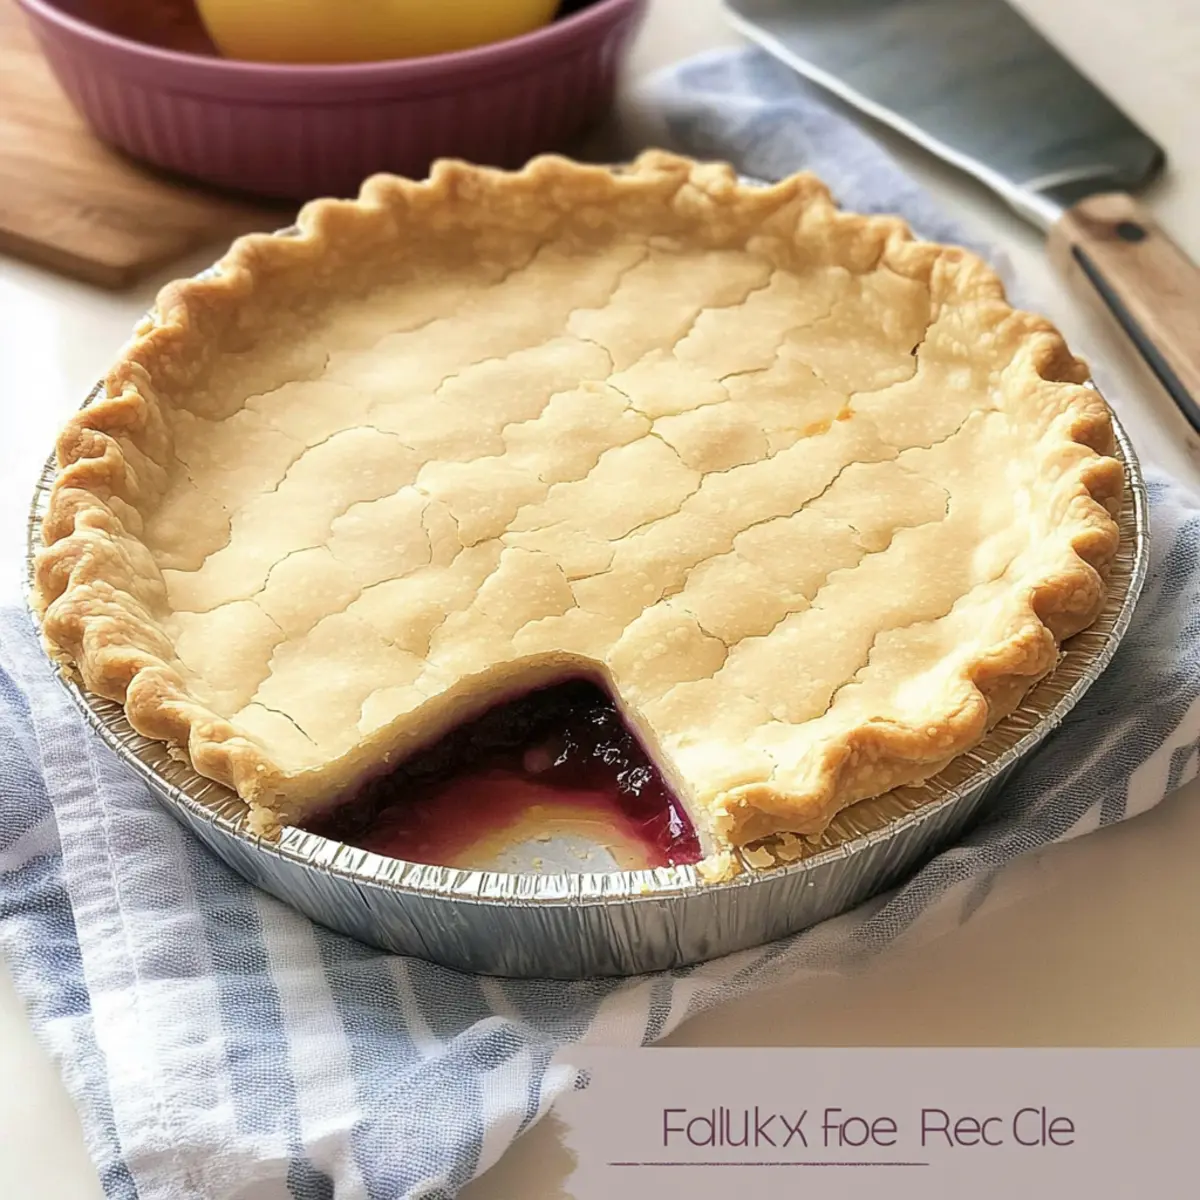
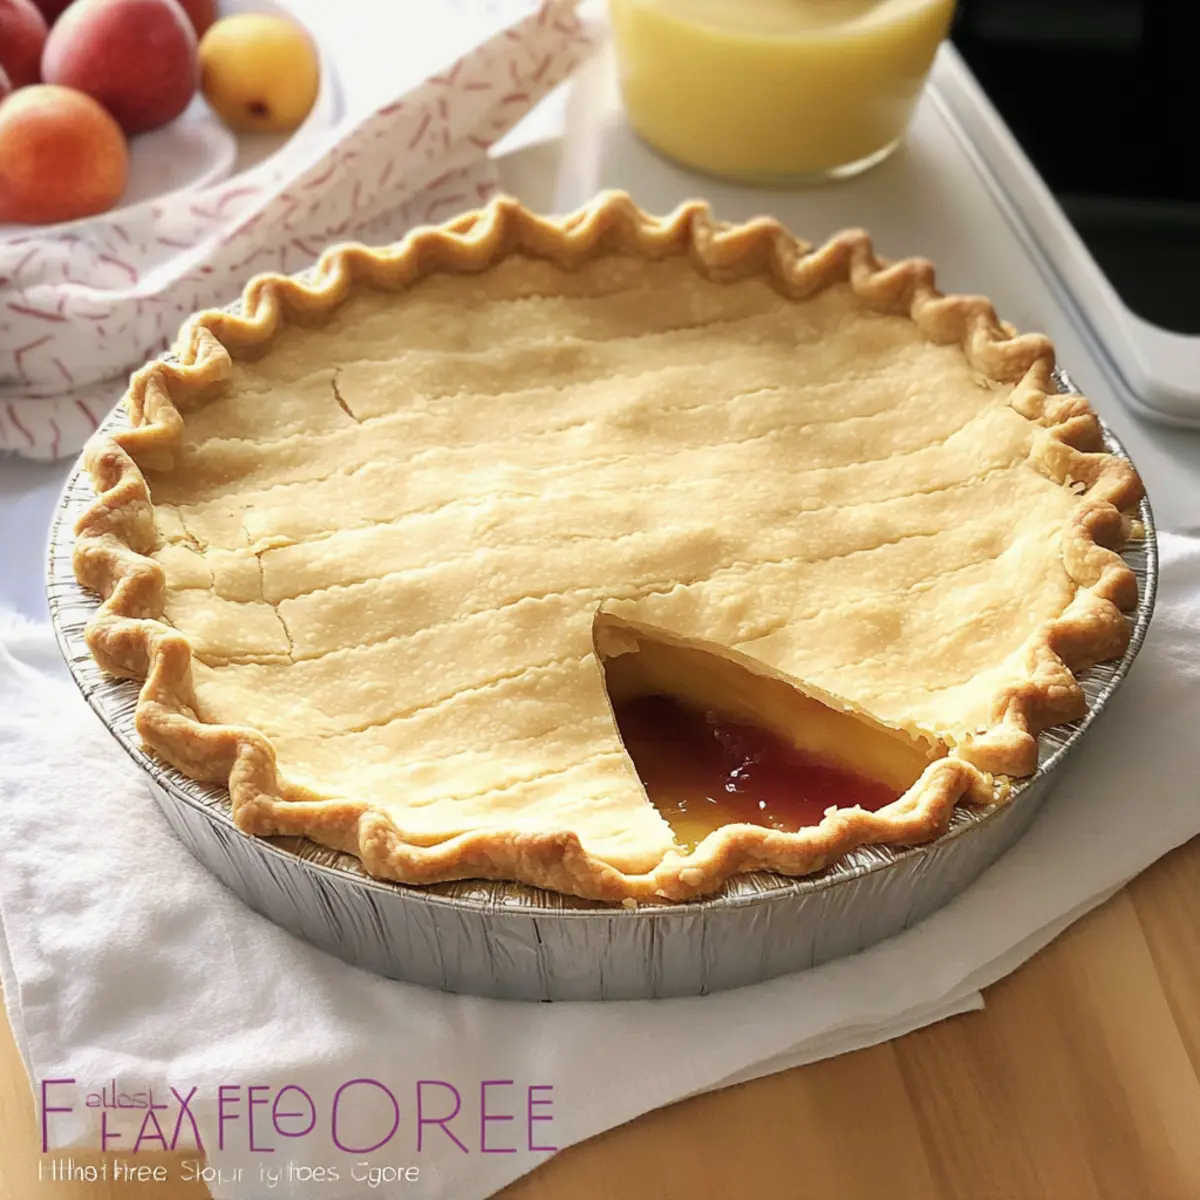
Carefully lift your rolled-out dough and place it into a greased 9-inch pie pan. Gently press the dough into the pan to avoid tearing, and trim any excess hanging over the edges. Crimp the edges as desired for a decorative touch, enhancing the presentation of your gluten-free pie crust.
Step 7: Pre-Bake if Needed
If your recipe calls for a pre-baked crust, poke a few holes in the bottom of the crust with a fork to prevent bubbling. Bake it in a preheated oven at 350°F for 20-25 minutes or until lightly golden brown, depending on your filling. This ensures a sturdy base for any delicious pie you plan to create.
Step 8: Add a Top Crust
If your pie needs a top crust, roll out a second portion of dough in the same manner as the first. Place it over your filling and crimp the edges together to seal. Alternatively, create a lattice pattern for an elegant touch that allows steam to escape while maintaining a flaky gluten-free pie crust throughout.
What to Serve with Flaky Gluten-Free Pie Crust
Elevate your gluten-free baking experience by teaming this versatile crust with delightful pairings that tantalize the taste buds.
-
Seasonal Fruit Filling: Bright, fresh fruits like berries or apples enhance the flakiness and sweetness, creating a mouthwatering dessert that sings with seasonal flavors.
-
Savory Quiche: The rich, buttery crust pairs perfectly with a creamy egg and cheese filling, delightful for brunch or a light dinner option.
-
Chocolate Ganache: A silky chocolate filling brings indulgence to your gluten-free pie, marrying the flakiness of the crust with luscious decadence.
-
Creamy Custard: Whether lemon or vanilla, a velvety custard filling creates a luxurious treat, promising to please even those who aren’t gluten-sensitive.
-
Ice Cream Scoop: Serve a slice warm with a scoop of your favorite ice cream for a delightful contrast of temperatures and textures—pure bliss in every bite!
-
Whipped Cream Topping: This light and airy complement enhances both fruity and creamy pies, adding a touch of elegance to your dessert presentation. Enjoy the sweet creaminess!
-
Wine Pairing: A crisp white wine, such as Chardonnay, enhances fruit flavors while offering a refreshing balance to savory fillings.
Feel free to mix and match these suggestions, turning your gluten-free pie crust into a celebration of flavor that everyone will adore!
Gluten-Free Pie Crust Variations
Feel free to play with this versatile gluten-free pie crust and make it uniquely yours—let your culinary imagination run wild!
- Different Flours: Swap gluten-free flour blends based on preference for a different flavor; use blends like Cup4Cup or King Arthur for varied results.
- Dairy-Free Delight: Use vegan butter instead of unsalted butter for a luscious, dairy-free crust that still packs the same flakiness.
- Egg Substitute: Replace the large egg with 3 tablespoons of whipped aquafaba for a vegan twist—your crust will still hold together beautifully!
- Extra Flavor: Infuse your crust with a teaspoon of vanilla extract or a pinch of cinnamon for a delightful twist that complements sweet fillings perfectly.
- Herb-Infused Crust: Add finely chopped herbs like rosemary or thyme to the dough for a savory crust that pairs beautifully with quiches or meat pies.
- Thickness Variation: Adjust the crust thickness according to your pie style; roll it thinner for tarts or thicker for deep-dish creations that can hold generous fillings.
- Lattice Love: For a charming lattice top crust, simply cut strips of rolled-out dough and weave them over the filling—a great look with fruit pies!
- Savory Swap: Incorporate grated cheese directly into the dough for a savory pie crust that adds a delightful richness to quiches or veggie pot pies.
Each of these variations invites you to explore new flavors and textures in your gluten-free baking adventure. And for a satisfying crêpe or a delightful dessert, check out my recipes for Butterbeer Macarons or Bake Blueberry Pie to pair with that perfect crust!
Make Ahead Options
These flaky gluten-free pie crusts are perfect for meal prep, allowing busy home cooks to save time for those last-minute pie-making adventures! You can prepare the dough up to 24 hours in advance; simply make the dough, wrap it tightly in plastic wrap, and refrigerate. For longer storage, feel free to freeze the dough for up to 3 months. When you’re ready to bake, let the frozen dough thaw in the refrigerator overnight before rolling it out. To maintain its delicious flakiness, ensure that the butter remains cold during preparation and don’t overmix the dough. When it’s time to bake, simply roll out your chilled dough, transfer it to your pie pan, and follow the baking instructions, resulting in a delightful crust that’s just as tasty as if made fresh!
How to Store and Freeze Gluten-Free Pie Crust
Airtight Container: Store the baked gluten-free pie crust in an airtight container at room temperature for up to 3 days to maintain freshness and prevent drying out.
Refrigerator Storage: If you have leftover crust, keep it wrapped tightly in plastic wrap or in an airtight container in the fridge for up to 4 days to ensure optimal texture.
Freezing: For longer storage, freeze the unbaked pie crust wrapped in plastic and placed in a freezer-safe bag for up to 4 months. Thaw overnight in the refrigerator before using.
Reheating Tips: When ready to use, if pre-baked, simply warm in the oven at 350°F for about 10 minutes to crisp up the crust before adding fillings.
Expert Tips for the Best Gluten-Free Pie Crust
-
Chill is Key: Ensure your butter is cold before mixing; this creates steam pockets that result in a flaky texture in your gluten-free pie crust.
-
Don’t Overmix: Mix just until a firm dough forms. Overmixing can lead to a tough crust, which we definitely want to avoid.
-
Roll with Care: Use ample gluten-free flour on your surface to prevent sticking. Trust me, a smooth rollout makes a world of difference.
-
Pre-Bake Wisely: If pre-baking, poke holes in the bottom to avoid bubbling; this step is essential for a sturdy and perfect crust.
-
Customize Your Crust: Experiment with various gluten-free blends to find the perfect match for your taste; each blend can alter the texture of your crust slightly.
-
Cooling Time Matters: Let your pie crust cool before adding no-bake fillings. This prevents sogginess and keeps your creation deliciously flaky!
Flaky Gluten-Free Pie Crust Recipe FAQs
How do I choose the right gluten-free flour blend?
Absolutely! When selecting a gluten-free flour blend for this pie crust recipe, look for a blend that includes a starch, such as tapioca or potato starch, to ensure optimal flakiness. Popular options like Cup4Cup or King Arthur Gluten-Free Measure for Measure blend are excellent choices. You can even try making your own blend at home if you’re feeling adventurous!
What’s the best way to store leftover pie crust?
Very! You can store the baked gluten-free pie crust in an airtight container at room temperature for up to 3 days, or if you have leftover dough, wrap it tightly in plastic wrap and keep it in the fridge for up to 4 days. Just make sure it’s sealed well to keep it fresh and avoid drying out!
Can I freeze the gluten-free pie crust?
Definitely! For longer storage, freeze the unbaked pie crust by wrapping it tightly in plastic wrap and placing it in a freezer-safe bag. It can be kept frozen for up to 4 months. When you’re ready to use it, simply thaw the crust overnight in the refrigerator, and it will be ready for filling!
What should I do if my dough is too crumbly or too sticky?
No worries! If your gluten-free pie crust dough is too crumbly, this usually means it needs a bit more moisture. Gradually add cold water, a tablespoon at a time, until it holds together without being sticky. On the flip side, if it’s too sticky, sprinkle in more gluten-free flour until you reach the desired consistency. Just remember, a light touch is key to keeping it flaky!
Is this pie crust safe for those with allergies?
Yes, this recipe can be adapted! If you have specific allergies, opt for a gluten-free flour blend that caters to your needs. For example, look for blends that don’t contain nuts if you have a nut allergy. Additionally, you can substitute unsalted butter with vegan butter to make it dairy-free. Always read labels carefully to ensure all your ingredients are safe for your dietary requirements.
Delicious Gluten-Free Pie Crust Recipe for Flaky Perfection
Ingredients
Equipment
Method
- In a large mixing bowl, combine gluten-free flour blend and salt, whisking until evenly distributed.
- Cut chilled unsalted butter into the flour mixture until the texture resembles coarse crumbs.
- In a separate bowl, whisk together egg, lemon juice, and cold water until smooth. Gradually pour into flour and butter blend, stirring gently.
- Wrap the dough in plastic wrap and refrigerate for about 15 minutes.
- On a lightly floured surface, roll out the chilled dough to about ¼ inch thick.
- Carefully lift the rolled-out dough and place it into a greased 9-inch pie pan.
- If pre-baking, poke holes in the bottom of the crust and bake at 350°F for 20-25 minutes until lightly golden.
- If using a top crust, roll out a second portion of dough and place it over the filling.
Leave a Reply