
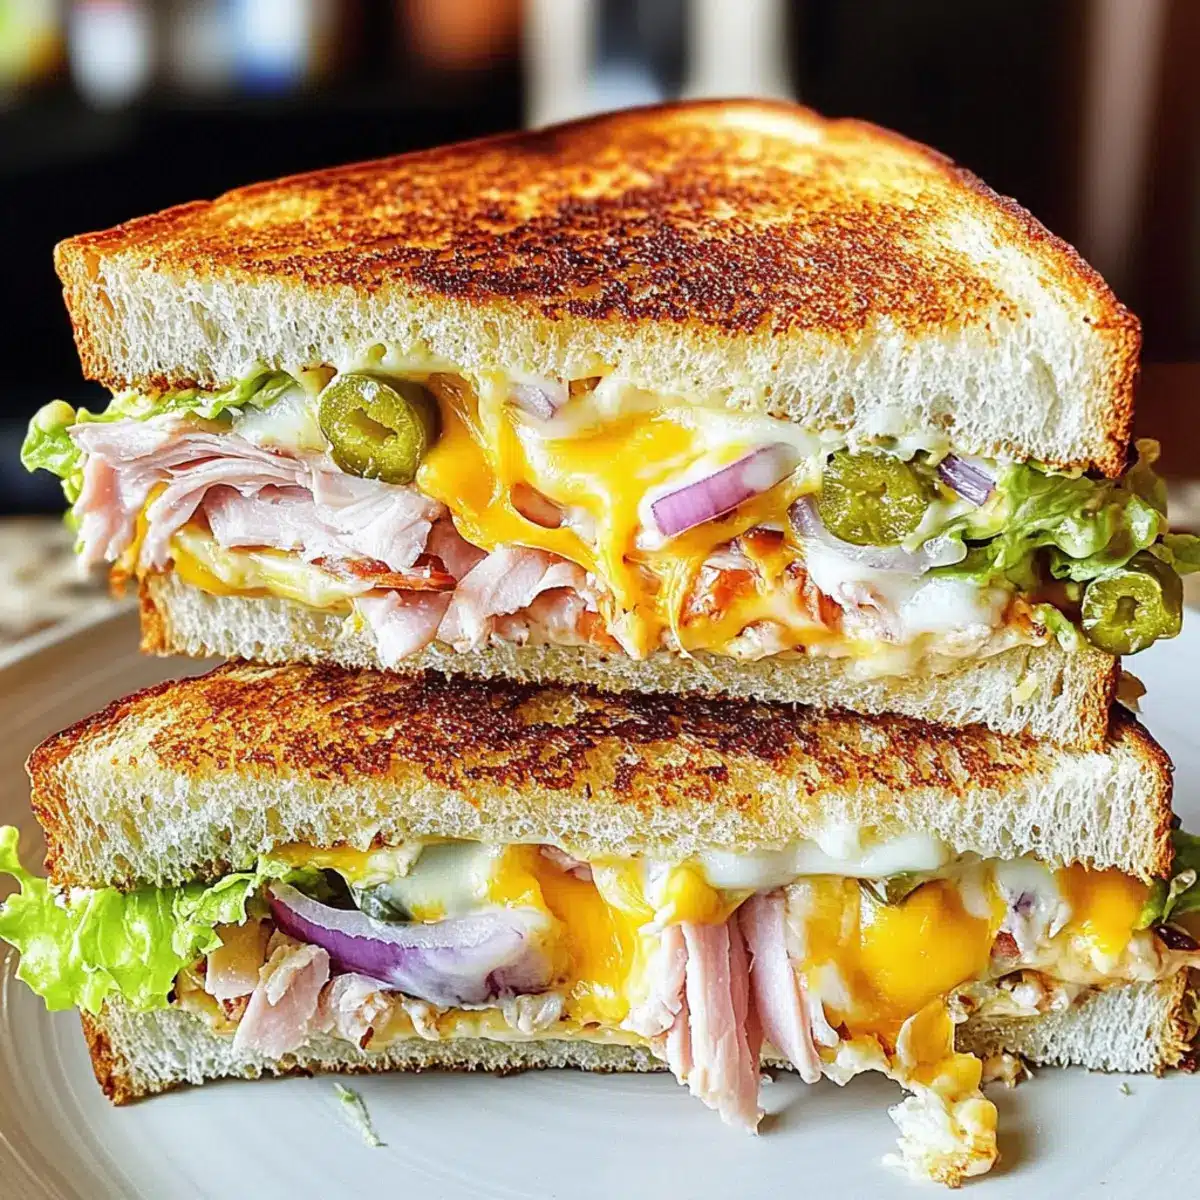
If you’ve ever craved a comforting grilled cheese that takes your taste buds on a flavorful adventure, the Viral Grinder Grilled Cheese Sandwich is just the ticket. This mouthwatering creation layers tender meats, oozy cheeses, and a medley of crisp veggies—all drizzled with a zesty Italian dressing that’ll have you dreaming of each satisfying bite. What I love most about this recipe is its magical ability to cater to everyone, making it perfect for casual gatherings or cozy nights in. Plus, its quick prep time means you can whip it up without breaking a sweat! Ready to dive into a customized cheesy indulgence that you can make your own? Let’s get into it!
Why is this Grilled Cheese so Special?
Comforting at its core, the Viral Grinder Grilled Cheese Sandwich elevates this classic dish with layers of savory meats and gooey cheeses, making it a heartwarming treat for any occasion. Customizable to your taste, you can swap in your favorite ingredients—think crispy bacon or spicy pepper jack cheese. Quick and easy, this recipe allows you to prepare a delicious meal in no time, making it perfect for busy weekdays or spontaneous gatherings. Crowd-pleasing flavor means it’s bound to impress, whether you’re serving family or friends! Try pairing it with a side of crispy chips or a refreshing salad for the perfect meal.
Grinder Grilled Cheese Sandwich Ingredients
• Dive into the cheesy goodness with these essentials!
-
For the Bread
-
Sourdough or Ciabatta – Choose hearty types for a sturdy base that holds up to all the layers.
-
For the Butter Mixture
-
Butter – Provides richness and ensures a golden, crispy exterior.
-
Parmesan Cheese – Enhances flavor and adds a savory crust; finely grate for best results.
-
Garlic Powder – Adds seasoning depth; you can substitute with fresh garlic for a punchier flavor.
-
For the Cheese Layers
-
Assorted Cheese (Havarti, Gruyere, Sharp Cheddar, Mozzarella) – Core ingredients for that gooey goodness; mix and match to your liking.
-
Turkey Meats – Acts as the savory protein base; substitute with ham or salami if preferred.
-
For the Creamy Dressing
-
Mayonnaise – Clings to the veggies and adds creaminess; swap with Greek yogurt for a lighter version.
-
Red Grape Juice Vinegar – Introduces a tangy kick; apple cider vinegar works well as a substitute.
-
Italian Seasoning – Delivers a lovely herbaceous note; use oregano and basil for a homemade blend.
-
For the Fresh Veggies
-
Shredded Lettuce – Promotes a crunchy texture and fresh flavor; spinach or arugula are great alternatives.
-
Red Onions (Sliced) – Adds sharpness and vibrant color; green onions can be used for a milder impact.
-
Banana Peppers (Chopped) – Offers tang and a little spice; jalapeños can easily replace for extra heat.
With these ingredients at hand, you’re all set to create the ultimate Grinder Grilled Cheese Sandwich that’s truly a cheesy indulgence!
Step‑by‑Step Instructions for Grinder Grilled Cheese Sandwich
Step 1: Prepare the Butter Mixture
In a small bowl, combine softened butter, finely grated parmesan cheese, and garlic powder. Mix the ingredients until evenly blended, creating a rich and flavorful spread that will enhance the exterior of your Grinder Grilled Cheese Sandwich. This mixture not only adds flavor but also promotes a deliciously golden crust when grilled.
Step 2: Butter the Bread
Spread a generous layer of the butter mixture on the outside of two slices of your chosen sturdy bread, such as sourdough or ciabatta. Ensure the butter is evenly coated to achieve a nice, crispy texture when grilled. This step is crucial to delivering the perfect indulgence that is both comforting and satisfying.
Step 3: Layer the Cheeses
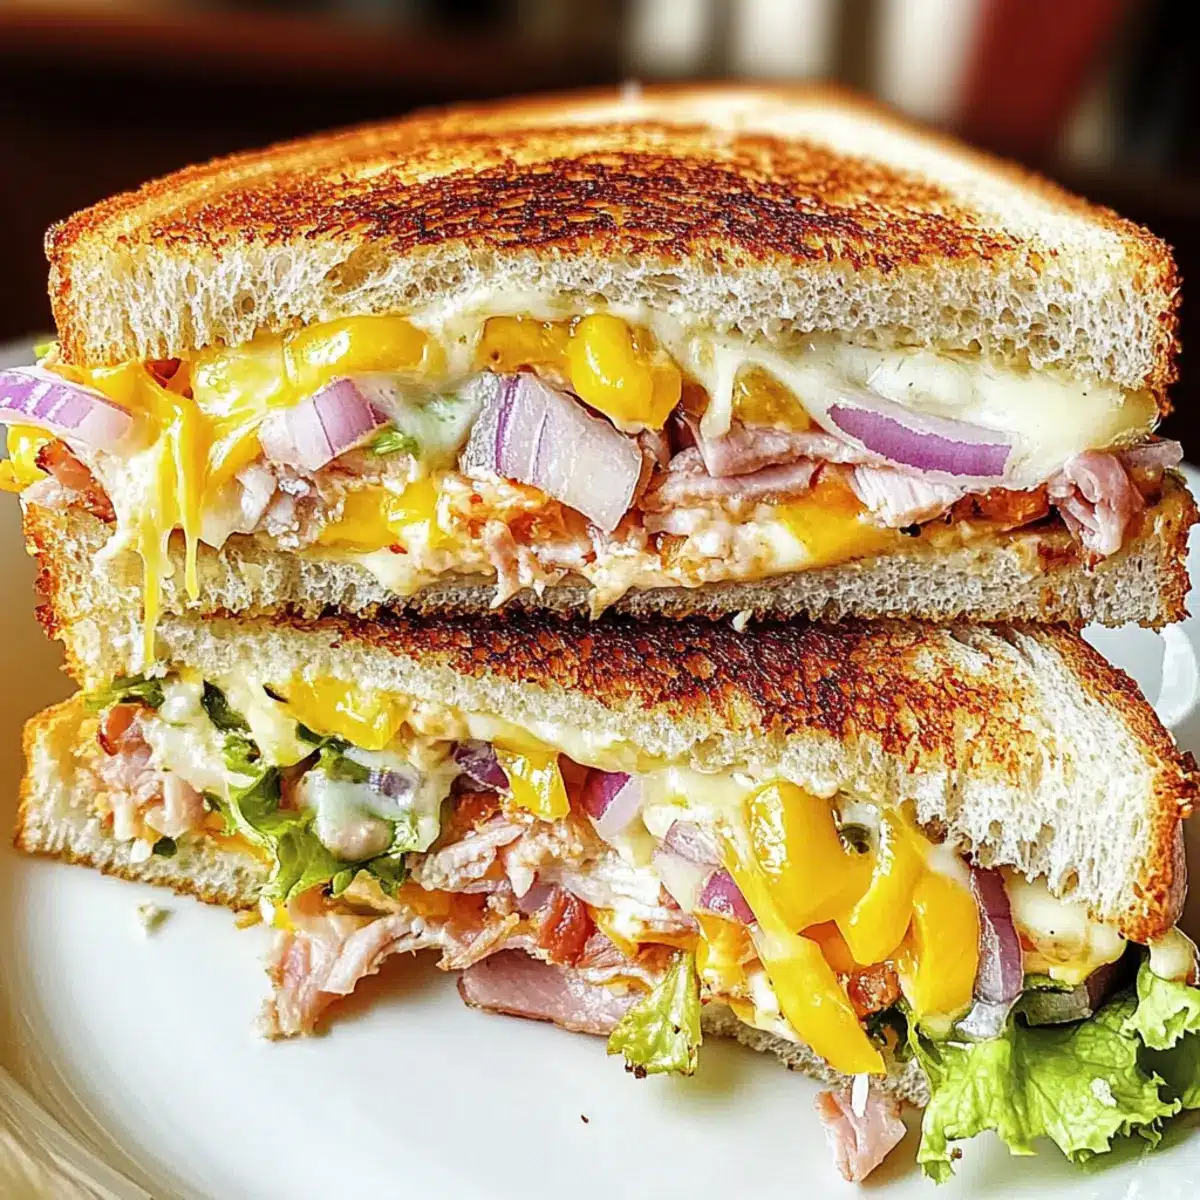
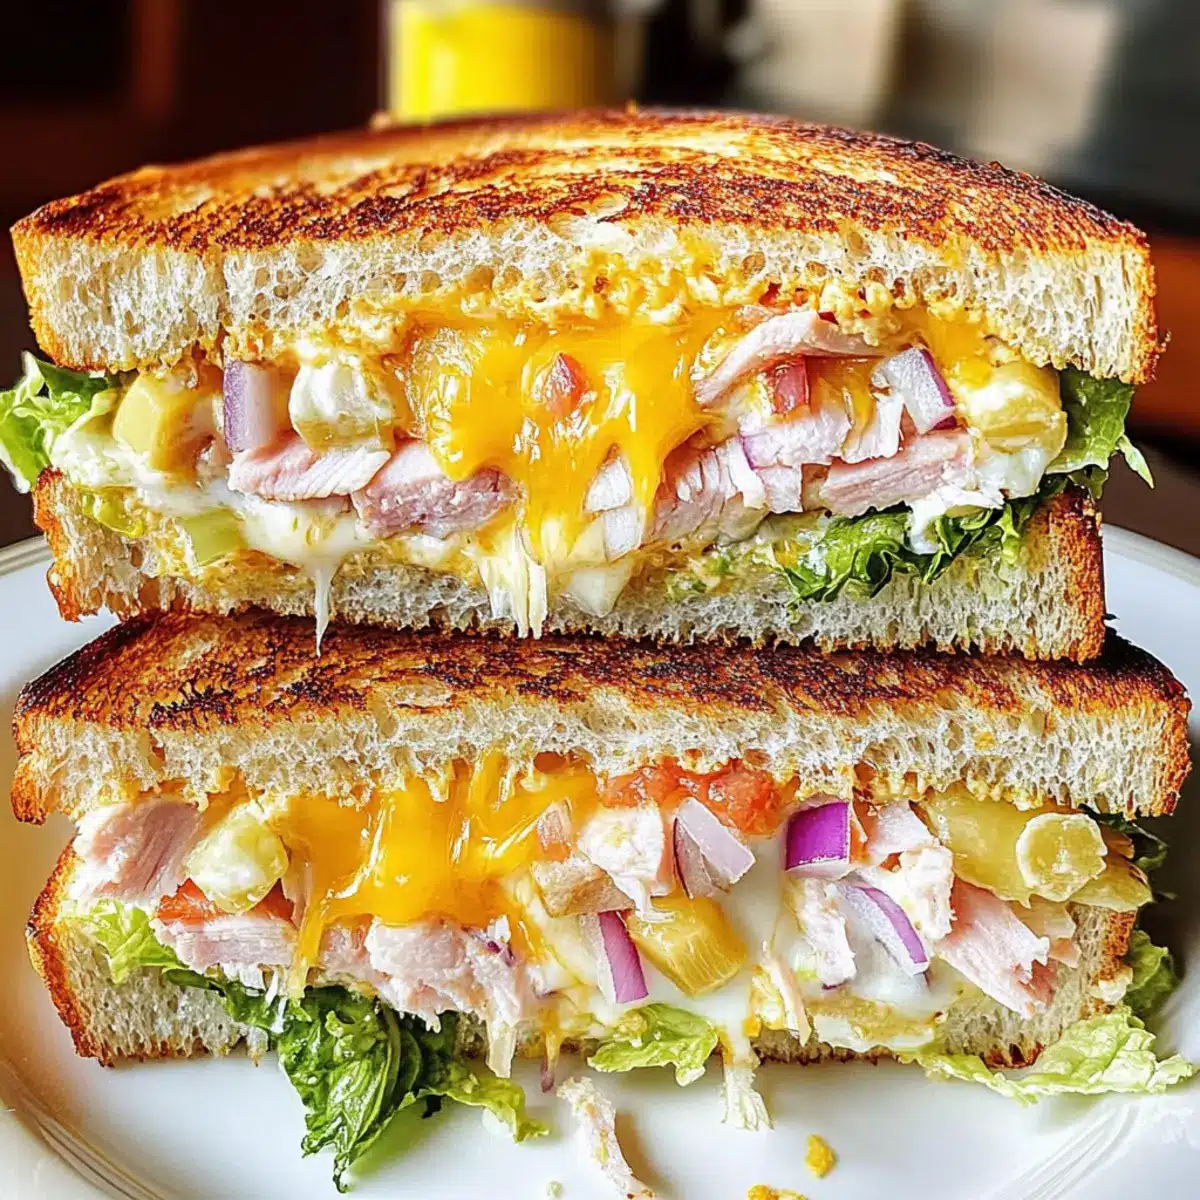
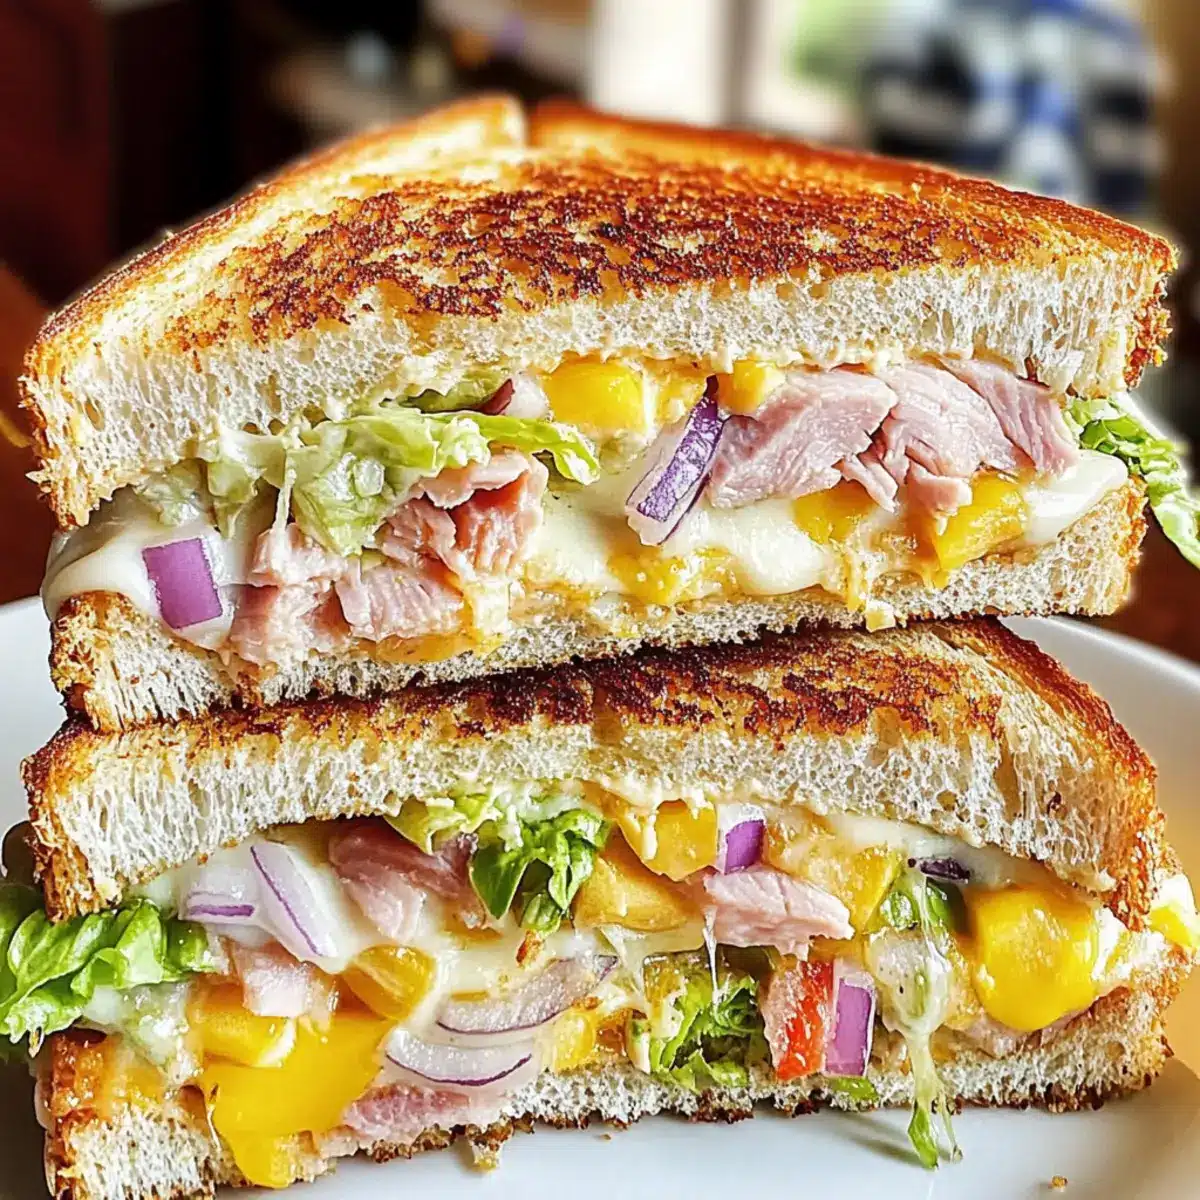
Flip the slices over, buttered side down, and start layering your assorted cheeses on the bottom slice. Include gooey options like Havarti or mozzarella, followed by thinly sliced turkey meats. If desired, add more cheese on top for an extra melty experience. This combination creates a delightful layer of flavor that defines the Grinder Grilled Cheese Sandwich.
Step 4: Assemble the Sandwich
Place the second slice of bread on top, ensuring the buttered side is facing up. This will create a lovely golden-brown crust when grilled. Press down gently to help the layers stick together, giving you a well-structured sandwich that holds up during the grilling process.
Step 5: Heat the Skillet
Preheat a nonstick skillet over low heat, allowing the pan to warm gently. This temperature is key for ensuring the cheese melts thoroughly without burning the bread. Once the skillet is hot, carefully place your assembled Grinder Grilled Cheese Sandwich onto the surface and let it toast.
Step 6: Toast the Sandwich
Cook the sandwich for 5-6 minutes on the first side without flipping, keeping an eye on the color to ensure it turns a beautiful golden brown. The low heat will allow the cheese to melt perfectly, creating a gooey center. After the first side is ready, carefully flip the sandwich using a spatula to toast the other side.
Step 7: Prepare the Creamy Dressing
While the sandwich grills, combine mayonnaise, red grape juice vinegar, remaining parmesan cheese, garlic powder, Italian seasoning, and a pinch of pepper in a mixing bowl. Stir until smooth to create a zesty sauce that will elevate your Grinder Grilled Cheese Sandwich with a burst of flavor.
Step 8: Add the Fresh Veggies
Fold in shredded lettuce, sliced red onions, and chopped banana peppers into the dressing mixture until well coated. This fresh salad mixture will add a delightful crunch and acidity to balance the gooeyness of your sandwich, making it even more enjoyable when layered generously on top.
Step 9: Finish and Serve
Once the sandwich is golden brown and the cheese is ooey-gooey, remove it from the skillet. Carefully load it with the prepared salad mixture, and then slice the sandwich in half to reveal its mouthwatering layers. Serve immediately while hot for the ultimate Grinder Grilled Cheese experience!
Make Ahead Options
These Viral Grinder Grilled Cheese Sandwiches are perfect for meal prep enthusiasts looking to save time on busy weeknights! You can assemble the sandwiches up to 24 hours in advance, simply wrap them tightly in plastic wrap to prevent drying out. The creamy dressing can also be prepared a day ahead and stored in the refrigerator, just remember to keep the salad mixture separate until you’re ready to serve. When it’s time to enjoy, just grill the sandwiches until golden brown and crispy, then load them with the fresh salad mix. This way, you’ll have all the comfort and flavor of a freshly made sandwich with minimal effort!
Expert Tips for Grinder Grilled Cheese Sandwich
-
Low and Slow: Toast your sandwich on low heat to ensure the cheese melts completely without burning the bread. This leads to the perfect gooey center.
-
Cheese Combinations: Experiment with different cheeses like gouda or pepper jack to add a unique flavor to your Grinder Grilled Cheese Sandwich that stands out!
-
Prep Ahead: Assemble your sandwiches ahead of time and store them in the refrigerator. This saves prep time and allows for a quick grill before serving.
-
Don’t Rush the Flip: Flip the sandwich only once during grilling to maintain those rich, layered flavors and avoid losing any of the delicious fillings.
-
Personalize Your Layers: Feel free to add extra veggies or swap ingredients based on what you have at home, making your Grinder Grilled Cheese Sandwich truly your own.
What to Serve with Viral Grinder Grilled Cheese Sandwich
Looking to complete your meal with delightful sides that echo the flavors of this cheesy indulgence?
- Crispy Potato Chips: Perfectly salty and crunchy, they add a satisfying contrast to the gooey sandwich while being a classic side dish.
- Fresh Garden Salad: A light mix of greens, cucumbers, and tomatoes drizzled with vinaigrette brightens the palate, balancing the richness of the sandwich beautifully.
- Tomato Soup: A warm, comforting classic that pairs perfectly with a grilled cheese. Its creamy texture complements the sandwich and elevates the experience.
- Pickles: Their tangy crunch cuts through the richness of the cheese, adding a delightful pop of flavor that enhances each bite.
- Sweet Potato Fries: Offering a slightly sweet taste with a crispy exterior, these fries create a wonderful flavor harmony with your savory sandwich.
- Homemade Coleslaw: Creamy and crisp, with just the right tang, it lends brightness and adds a refreshing contrast to the layers of meats and cheese.
- Sparkling Lemonade: The effervescence and citrusy notes make for a refreshing drink that cleanses the palate perfectly after every cheesy bite.
- Chocolate Chip Cookies: End your meal with a sweet touch. Warm, gooey cookies complement the savory sandwich and bring back childhood memories of comfort foods.
How to Store and Freeze Grinder Grilled Cheese Sandwich
Fridge: Store leftover sandwiches in an airtight container for up to 3 days. To maintain freshness, avoid stacking them without parchment paper to prevent sogginess.
Freezer: Wrap assembled but uncooked sandwiches tightly in plastic wrap, then in foil, and freeze for up to 2 months. When ready, thaw in the fridge overnight before grilling.
Reheating: To reheat, place thawed sandwiches in a skillet over low heat until the cheese melts, about 5–6 minutes on each side for a crispy finish. Enjoy your delicious Grinder Grilled Cheese Sandwich again!
Grinder Grilled Cheese Sandwich Variations
Feel free to get creative and customize your sandwich to suit your taste buds or dietary needs!
-
Dairy-Free: Substitute cheeses with vegan options like cashew cheese or nutritional yeast for a cheese-like flavor.
-
Kick it Up: Add jalapeños or sriracha to the salad mix for an extra kick of heat that brings your sandwich to life.
-
Meat Lovers: Switch out turkey for crispy bacon or smoked salami—the smoky flavor will elevate every bite into a savory delight.
-
Herbaceous Magic: Enhance the flavor with fresh basil or cilantro, mixing them into the veggie dressing for a burst of freshness.
-
Mediterranean Twist: Incorporate feta cheese and kalamata olives for a unique and flavorful spin reminiscent of Mediterranean flavors.
-
Ultimate Veggies: Boost texture with grilled zucchini or eggplant layered inside for a hearty and savory bite that blends beautifully with the melty cheese.
-
Sweet Surprise: A thin layer of fig jam or honey can add a delightful sweetness that contrasts beautifully with savory ingredients, creating an unexpected taste sensation.
-
Crunch Factor: Toss some potato chips or crispy fried onions into your sandwich for an added crunch that will keep you reaching for more.
For a more adventurous take, consider trying the recipe with variations like the delectable Cranberry Cream Cheese or perhaps even the satisfying layers found in a Gourmet Ciabatta Sandwich. Each twist awaits—let your imagination run wild!
Viral Grinder Grilled Cheese Sandwich Recipe FAQs
What type of bread is best for the Grinder Grilled Cheese Sandwich?
I recommend using hearty breads like sourdough or ciabatta. They provide the right durability and flavor to hold the layers of meats and cheeses without falling apart. If you prefer a softer texture, consider using whole grain or even a nice rustic loaf for added taste.
How should I store leftover Grinder Grilled Cheese Sandwiches?
Store any leftover sandwiches in an airtight container in the refrigerator for up to 3 days. To maintain their crispiness, it’s best to avoid stacking them directly on top of each other; instead, use parchment paper between layers to prevent sogginess.
Can I freeze Grinder Grilled Cheese Sandwiches?
Absolutely! To freeze, wrap assembled but uncooked sandwiches tightly in plastic wrap, then cover with aluminum foil to prevent freezer burn. They can last up to 2 months in the freezer. When ready to cook, simply thaw them in the refrigerator overnight, and cook them in a skillet for that crispy finish.
What if my grilled cheese doesn’t melt properly?
If you find your grilled cheese isn’t melting well, try toasting it on a lower heat setting for longer periods. This allows the cheese to melt thoroughly without burning the bread. Ensure you flip the sandwich only once during cooking for even melting.
Are there any dietary considerations with this recipe?
Yes! If you have specific dietary restrictions, you can customize the ingredients easily. For instance, if you’re lactose intolerant, opt for dairy-free cheeses. You can substitute turkey with a plant-based protein for a vegetarian option. Additionally, always check for allergens in sauces and dressings if you have food allergies.
What are some quick alternatives for the dressing?
If you prefer a simpler dressing, try using just mayonnaise with a dash of lemon juice for tang. Alternatively, a store-bought ranch dressing works well to give you that creamy flavor without the fuss. The more the merrier—feel free to experiment with flavors that suit your palate!
Ultimate Grinder Grilled Cheese Sandwich You’ll Crave Daily
Ingredients
Equipment
Method
- Prepare the Butter Mixture: In a small bowl, combine softened butter, finely grated parmesan cheese, and garlic powder. Mix until evenly blended.
- Butter the Bread: Spread a generous layer of the butter mixture on the outside of two slices of sourdough or ciabatta.
- Layer the Cheeses: Flip the slices over, buttered side down, and start layering assorted cheeses on the bottom slice.
- Assemble the Sandwich: Place the second slice of bread on top, ensuring the buttered side is facing up.
- Heat the Skillet: Preheat a nonstick skillet over low heat.
- Toast the Sandwich: Cook the sandwich for 5-6 minutes on the first side.
- Prepare the Creamy Dressing: While the sandwich grills, combine mayonnaise, red grape juice vinegar, remaining parmesan cheese, garlic powder, Italian seasoning, and a pinch of pepper in a mixing bowl.
- Add the Fresh Veggies: Fold in shredded lettuce, sliced red onions, and chopped banana peppers into the dressing.
- Finish and Serve: Once the sandwich is golden brown and the cheese is ooey-gooey, remove it from the skillet.
Leave a Reply