
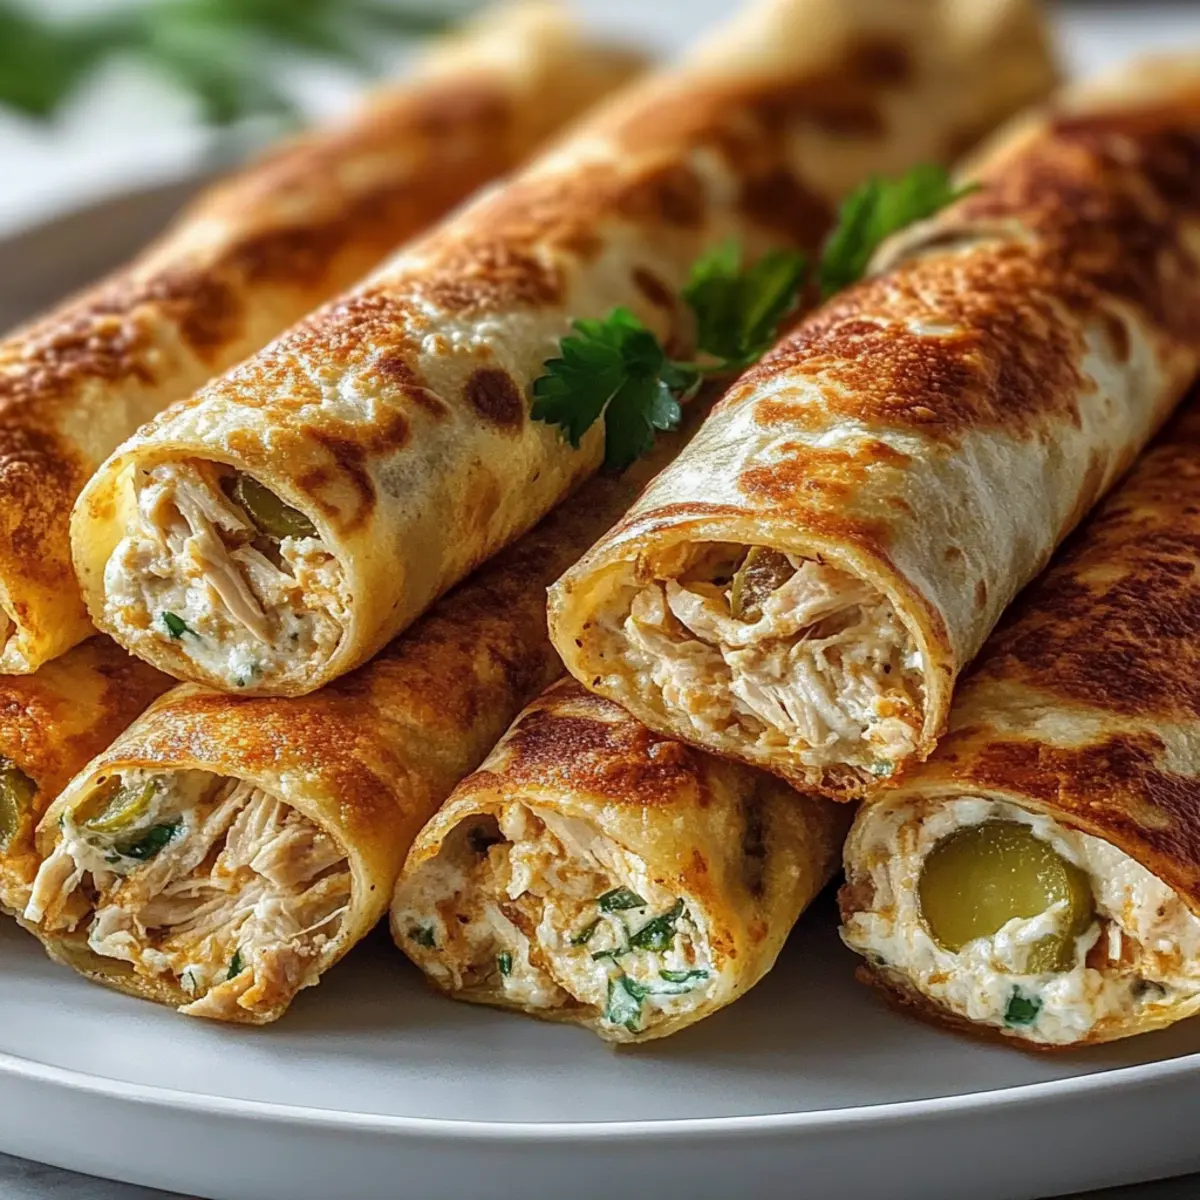
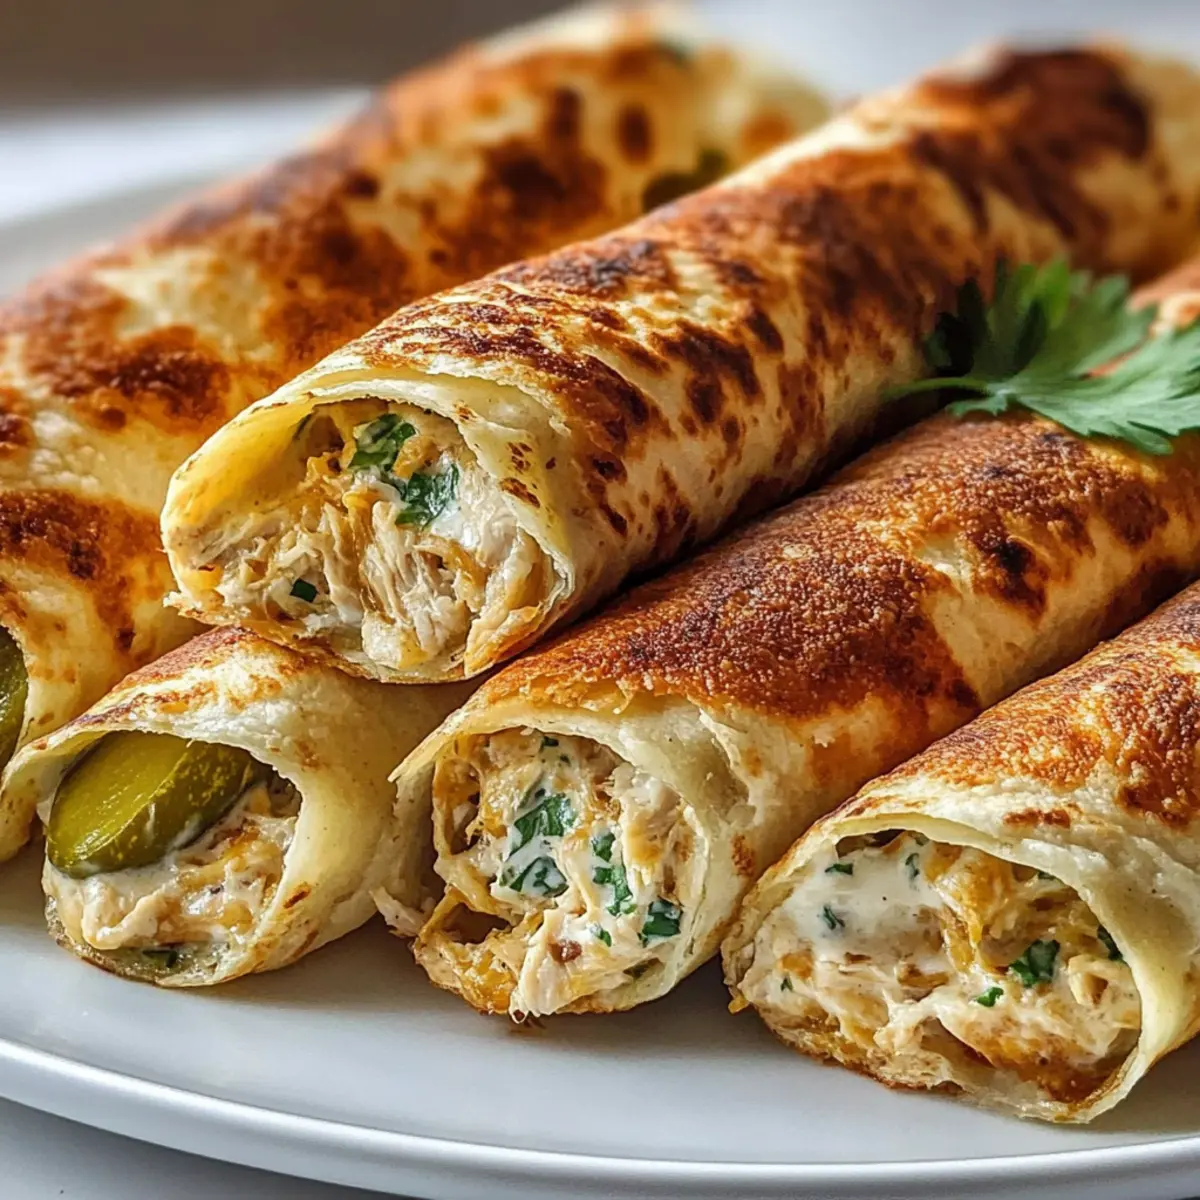
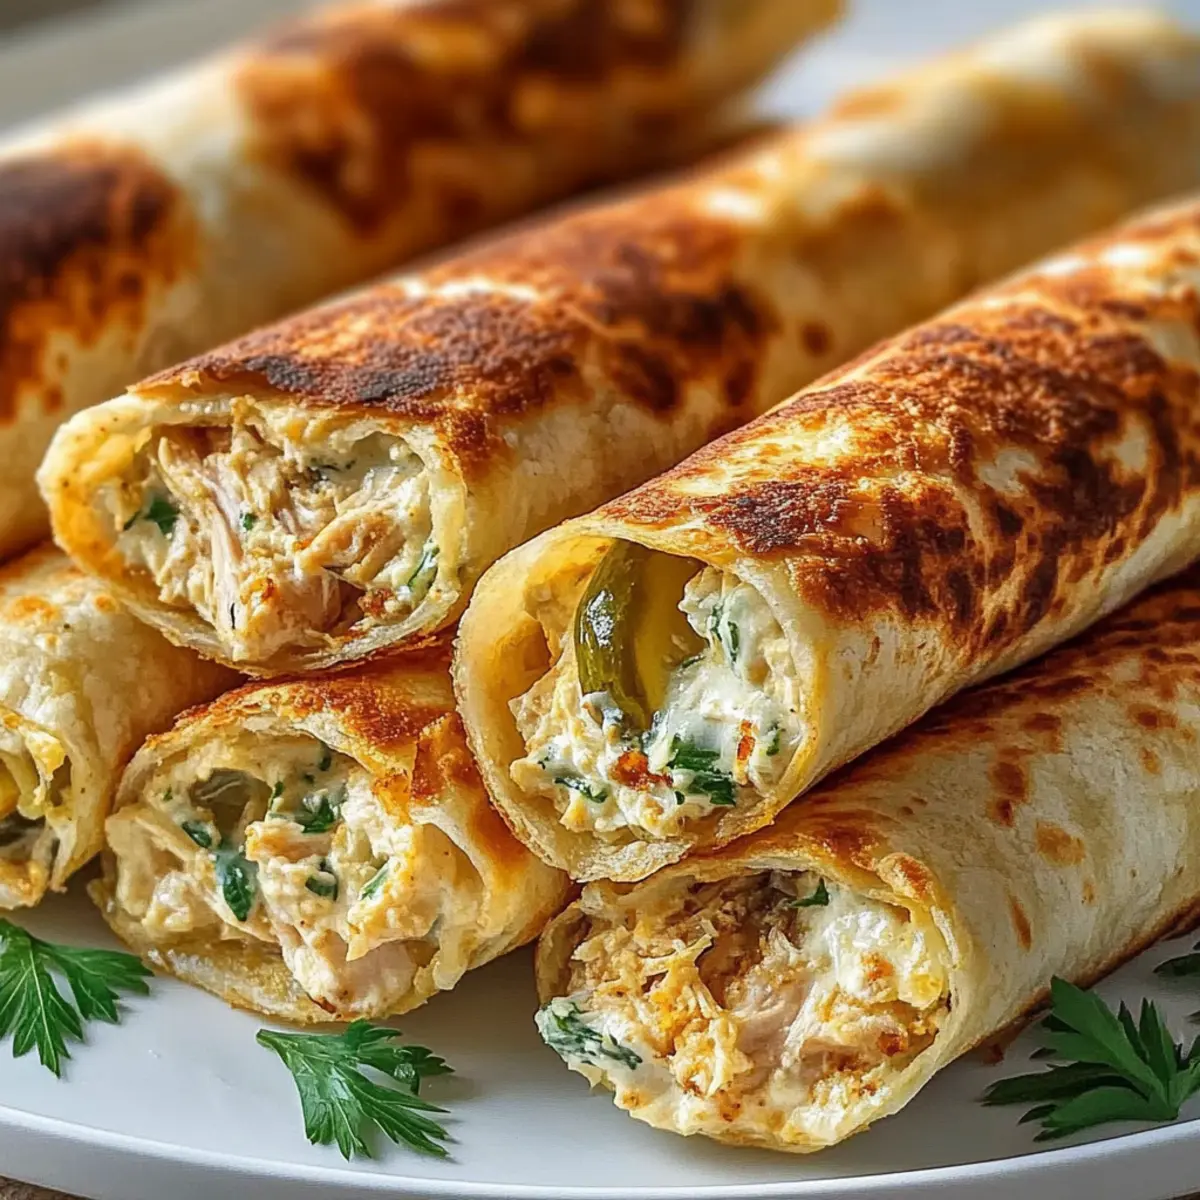
When that craving for a crunchy, savory delight strikes, nothing quite compares to the nostalgic joy of taquitos. Enter my Dill Pickle Ranch Chicken Taquitos: a scrumptious blend of seasoned chicken, zesty dill pickles, and creamy cheese wrapped in a perfectly crisp tortilla. These oven-baked wonders are not only super simple to whip up but also make for an ideal appetizer that’ll have your guests raving. With quick prep and a crowd-pleasing reputation, they’re destined to become a staple in your kitchen. Plus, they’re easily customizable, whether you prefer the ease of rotisserie chicken or want to experiment with different fillings. Curious to taste this unique flavor combination? Let’s dive into how to create these irresistible bites!

Why Are Dill Pickle Ranch Taquitos Amazing?
Flavor Explosion: Each bite bursts with the zesty tang of dill pickles, perfectly paired with creamy ranch and melted cheese.
Effortless Preparation: These taquitos come together quickly, making them ideal for busy weeknights or last-minute gatherings.
Customizable Goodness: Easily switch up the filling ingredients, from adding black beans for vegetarian options to experimenting with different dressings for varied tastes.
Crowd Favorite: Whether served at a party or as a simple family dinner, these taquitos never fail to impress and satisfy everyone at the table.
Meal Prep Friendly: Make a big batch ahead of time, store them in the fridge, and bake when ready for easy snacks or quick meal solutions—ideal for busy lives!
Pair these bites with some refreshing sour cream or zesty avocado crema for an experience you won’t forget!
Dill Pickle Ranch Chicken Taquitos Ingredients
• Get ready to create something delicious and satisfying with these easy-to-follow ingredients!
For the Filling
- Cooked Chicken Breast – Shredded for easy incorporation; rotisserie chicken can save you time.
- Dill Pickles – Finely chopped to impart a tangy punch; try bread and butter pickles if you prefer a sweeter twist.
- Cream Cheese – Softened to ensure a smooth filling; Greek yogurt is a lighter alternative.
- Ranch Dressing – Key for flavor; swap in Caesar or blue cheese dressing for a different taste.
- Shredded Cheddar Cheese – Adds sharpness and creaminess to each bite.
- Shredded Mozzarella Cheese – Provides that gooey, melt-in-your-mouth texture.
- Fresh Dill – Chopped to enhance the dill flavor; omit if you can’t find any.
- Garlic Powder – Adds great depth; substitute with fresh garlic for a stronger flavor.
- Onion Powder – Boosts the savory profile; feel free to use fresh onion if you like.
- Salt & Black Pepper – Essential for helping flavors shine.
For the Taquitos
- Flour Tortillas – Use 6-inch tortillas for the perfect size; corn tortillas can provide a gluten-free option.
- Olive Oil Spray – Lightly applied for crisping during baking; gives the taquitos their golden exterior.
Step‑by‑Step Instructions for Dill Pickle Ranch Chicken Taquitos
Step 1: Preheat and Prepare Pan
Begin by preheating your oven to 425°F (220°C). While the oven warms up, line a baking sheet with parchment paper to prevent sticking and ensure even baking. This setup is essential for achieving a beautifully golden and crispy finish on your Dill Pickle Ranch Chicken Taquitos.
Step 2: Prepare the Chicken Mixture
In a large mixing bowl, combine the shredded chicken, finely chopped dill pickles, softened cream cheese, ranch dressing, shredded cheddar, and mozzarella cheeses. Add in the fresh dill, garlic powder, onion powder, salt, and pepper. Mix everything together thoroughly until well incorporated, creating a creamy and flavorful filling that’ll make your taquitos truly scrumptious.
Step 3: Fill and Roll Tortillas
Take your flour tortillas and lay them flat on a clean surface. Scoop approximately 3 tablespoons of the chicken mixture onto the bottom third of each tortilla. Carefully roll the tortilla tightly, starting from the filled edge, ensuring that none of the filling escapes. This step is crucial for maintaining the flavor and texture of your Dill Pickle Ranch Chicken Taquitos.
Step 4: Shape and Place Taquitos
Once rolled, place each taquito seam-side down on your prepared baking sheet, ensuring they’re spaced apart to allow for even cooking. This positioning helps them crisp up nicely as they bake, contributing to that sought-after crunch in every bite of your taquitos.
Step 5: Apply Oil Spray
To achieve a delightful golden-brown crispiness, lightly spray the tops of the taquitos with olive oil. This small step makes a big difference in texture and appearance, giving your Dill Pickle Ranch Chicken Taquitos an inviting look and ensuring they bake evenly.
Step 6: Bake to Perfection
Slide the baking sheet into your preheated oven and bake for 22-25 minutes. Keep an eye on them, and once the taquitos turn a beautiful golden brown and become crispy, you’ll know they’re ready. The aroma wafting from the oven will have your mouth watering in anticipation!
Step 7: Serve and Garnish
After baking, allow the taquitos to cool for a couple of minutes, as the filling will be hot. For an extra touch, serve the Dill Pickle Ranch Chicken Taquitos with optional dips such as ranch dressing or garnish with fresh dill. This step adds a refreshing finish to your savory bites, making them even more enjoyable.
Dill Pickle Ranch Chicken Taquitos Variations
Feel free to get creative and make these taquitos your own with these easy and delicious swaps!
- Gluten-Free: Use warmed corn tortillas instead of flour tortillas for a gluten-free delight.
- Vegetarian Twist: Swap the chicken for black beans or grilled veggies for a hearty vegetarian option.
- Creamy Alternative: Substitute Greek yogurt for cream cheese to lighten the filling while keeping it creamy.
- Different Dressings: Experiment with Caesar or blue cheese dressing instead of ranch for a new flavor profile.
- Pork Option: Shredded pork makes a fantastic filling—add some barbecue sauce for a zesty kick!
- Heated Up: Add a pinch of cayenne pepper to the filling for an extra spicy bite, or serve with a spicy dip like chipotle ranch.
- Cheesy Goodness: Mix in some pepper jack cheese for an added kick of flavor and creaminess.
- Crunchy Additions: Toss in some crushed tortilla chips to the filling for a surprising crunch with every bite!
And if you’re still seeking more recipe inspiration, consider pairing your taquitos with a fresh guacamole or zesty avocado crema for an unforgettable taste experience. Don’t forget to check out my Dill Pickle Grilled cheese for another delicious way to enjoy those pickles!
Expert Tips for Dill Pickle Ranch Chicken Taquitos
Prepping Ahead: Assemble your taquitos in advance and store them in the fridge. When ready to bake, just add 2-3 minutes to the cooking time for perfect results.
Freezing for Later: If you make a big batch, freeze the baked taquitos for up to three months. Heat them from frozen at 375°F for 15-20 minutes.
Maximize Crispiness: For the crispiest experience, flip your taquitos halfway through baking to ensure even browning on all sides.
Consistent Sizes: Use a kitchen scale to measure your filling portions, ensuring uniformity in size for even cooking and delicious bites in every taquito.
Add a Kick: Consider adding a pinch of cayenne pepper for a spicy twist, or serve with a zesty dip for added flavor with your Dill Pickle Ranch Chicken Taquitos.
How to Store and Freeze Dill Pickle Ranch Chicken Taquitos
Fridge: Store taquitos in an airtight container for up to 3 days. If they’ve been baked, reheat them in the oven to restore their crispy texture.
Freezer: Baked taquitos can be frozen for up to 3 months. Place them in a single layer on a baking sheet to freeze, then transfer to a freezer bag for easy access.
Reheating: To reheat from frozen, bake at 375°F (190°C) for 15-20 minutes until heated through and crispy. Enjoy the same delicious flavors as the day they were made!
Meal Prep: You can assemble taquitos and refrigerate them uncooked up to a day ahead. When you’re ready, just pop them in the oven for easy baking!
Make Ahead Options
These Dill Pickle Ranch Chicken Taquitos are perfect for busy home cooks looking to save time without sacrificing flavor! You can assemble the taquitos up to 24 hours in advance by storing them uncooked in the refrigerator. To maintain their crispiness, cover them tightly with plastic wrap. When you’re ready to enjoy, simply bake the taquitos directly from the fridge, adding an extra 2-3 minutes to the original baking time for that perfect golden brown finish. Alternatively, baked taquitos can be frozen for up to 3 months; just reheat them from frozen at 375°F (190°C) for about 15-20 minutes. With these make-ahead tips, you’ll have delicious snacks ready to go whenever the craving strikes!
What to Serve with Dill Pickle Ranch Chicken Taquitos
Bite into a world of flavor with these crispy delights, and discover perfect pairings to create a complete meal.
-
Zesty Avocado Crema: This creamy dip adds a rich, velvety texture that balances the savory taquitos beautifully. The hint of lime brings a fresh twist!
-
Green Salad with Lime Vinaigrette: A refreshing salad with crisp greens and a zesty dressing offers a light and crunchy counterpoint, enhancing the meal’s overall freshness.
-
Sour Cream: This classic pairing offers a cool and tangy element that complements the bold flavors of the taquitos, creating a perfect bite.
-
Guacamole: The creamy richness of guacamole pairs effortlessly with the crispy taquitos, bringing a hearty feel to the table that everyone will love!
-
Roasted Corn: Sweet, caramelized corn adds a delightful crunch and bright flavor that contrast the savory filling, making every bite satisfying.
-
Spicy Queso Dip: For those who love a little kick, a rich queso dip adds creamy, cheesy goodness and an element of warmth that tantalizes the taste buds.
-
Crisp Coleslaw: This crunchy, tangy side dish provides a refreshing textural contrast while the vinegar cuts through the richness of the filling, enhancing every bite.
-
Ice Cold Beer: Pairing with a light lager or pale ale elevates the casual, fun nature of enjoying taquitos while balancing the flavors perfectly.
These pairings will transform your meal into a fiesta that your friends and family will rave about!
Dill Pickle Ranch Chicken Taquitos Recipe FAQs
What type of chicken is best for these taquitos?
Absolutely! Shredded cooked chicken breast is the primary protein in this recipe. I often recommend using rotisserie chicken for its convenience and flavor, but you can also use leftover grilled or baked chicken from a previous meal.
How long do I store leftover taquitos?
Once baked, store your Dill Pickle Ranch Chicken Taquitos in an airtight container in the fridge for up to 3 days. When reheating, pop them back in the oven to get that crispy texture again—definitely a must for the best experience!
Can I freeze these taquitos?
Yes, you can freeze baked taquitos for up to 3 months! To do this, allow them to cool completely and then place them in a single layer on a baking sheet until frozen solid. Transfer the frozen taquitos to a freezer bag for easy access. When you’re ready to enjoy, bake them straight from frozen at 375°F (190°C) for about 15-20 minutes until crispy and heated through.
I want to make these gluten-free; what should I use?
Very! Simply swap out the flour tortillas for warmed corn tortillas, which work well and maintain the delicious flavor and texture of the taquitos. Just remember to be gentle when rolling, as corn tortillas can be a bit more fragile.
What if my taquitos don’t get crispy?
If you find that your taquitos are not crisping up, that can sometimes happen if they were too crowded on the baking sheet or if they didn’t get enough oil spray. Make sure to allow space between each taquito on the baking sheet so that air can circulate, and lightly spritz with olive oil for maximum crispiness. Turning them halfway through baking can also help achieve that golden-brown finish.
Are there any dietary considerations I should keep in mind?
Absolutely! Since this recipe includes dairy products, it’s important to consider lactose intolerance or allergies. For a dairy-free option, try replacing cream cheese and cheeses with plant-based alternatives. You might also substitute ranch dressing with a dairy-free version or homemade dressing to fit dietary needs.
Dill Pickle Ranch Chicken Taquitos - Crispy, Flavor-Packed Bites
Ingredients
Equipment
Method
- Preheat your oven to 425°F (220°C) and prepare a baking sheet lined with parchment paper.
- In a large mixing bowl, combine the shredded chicken, dill pickles, cream cheese, ranch dressing, cheddar, mozzarella, dill, garlic powder, onion powder, salt, and pepper. Mix thoroughly.
- Lay tortillas flat and scoop about 3 tablespoons of the chicken mixture onto the bottom third of each tortilla. Roll tightly from the filled edge.
- Place taquitos seam-side down on the baking sheet, spaced apart.
- Lightly spray the tops of the taquitos with olive oil.
- Bake in the preheated oven for 22-25 minutes until golden brown and crispy.
- Allow to cool for a couple of minutes before serving. Optionally serve with ranch dressing or garnish with fresh dill.
Leave a Reply